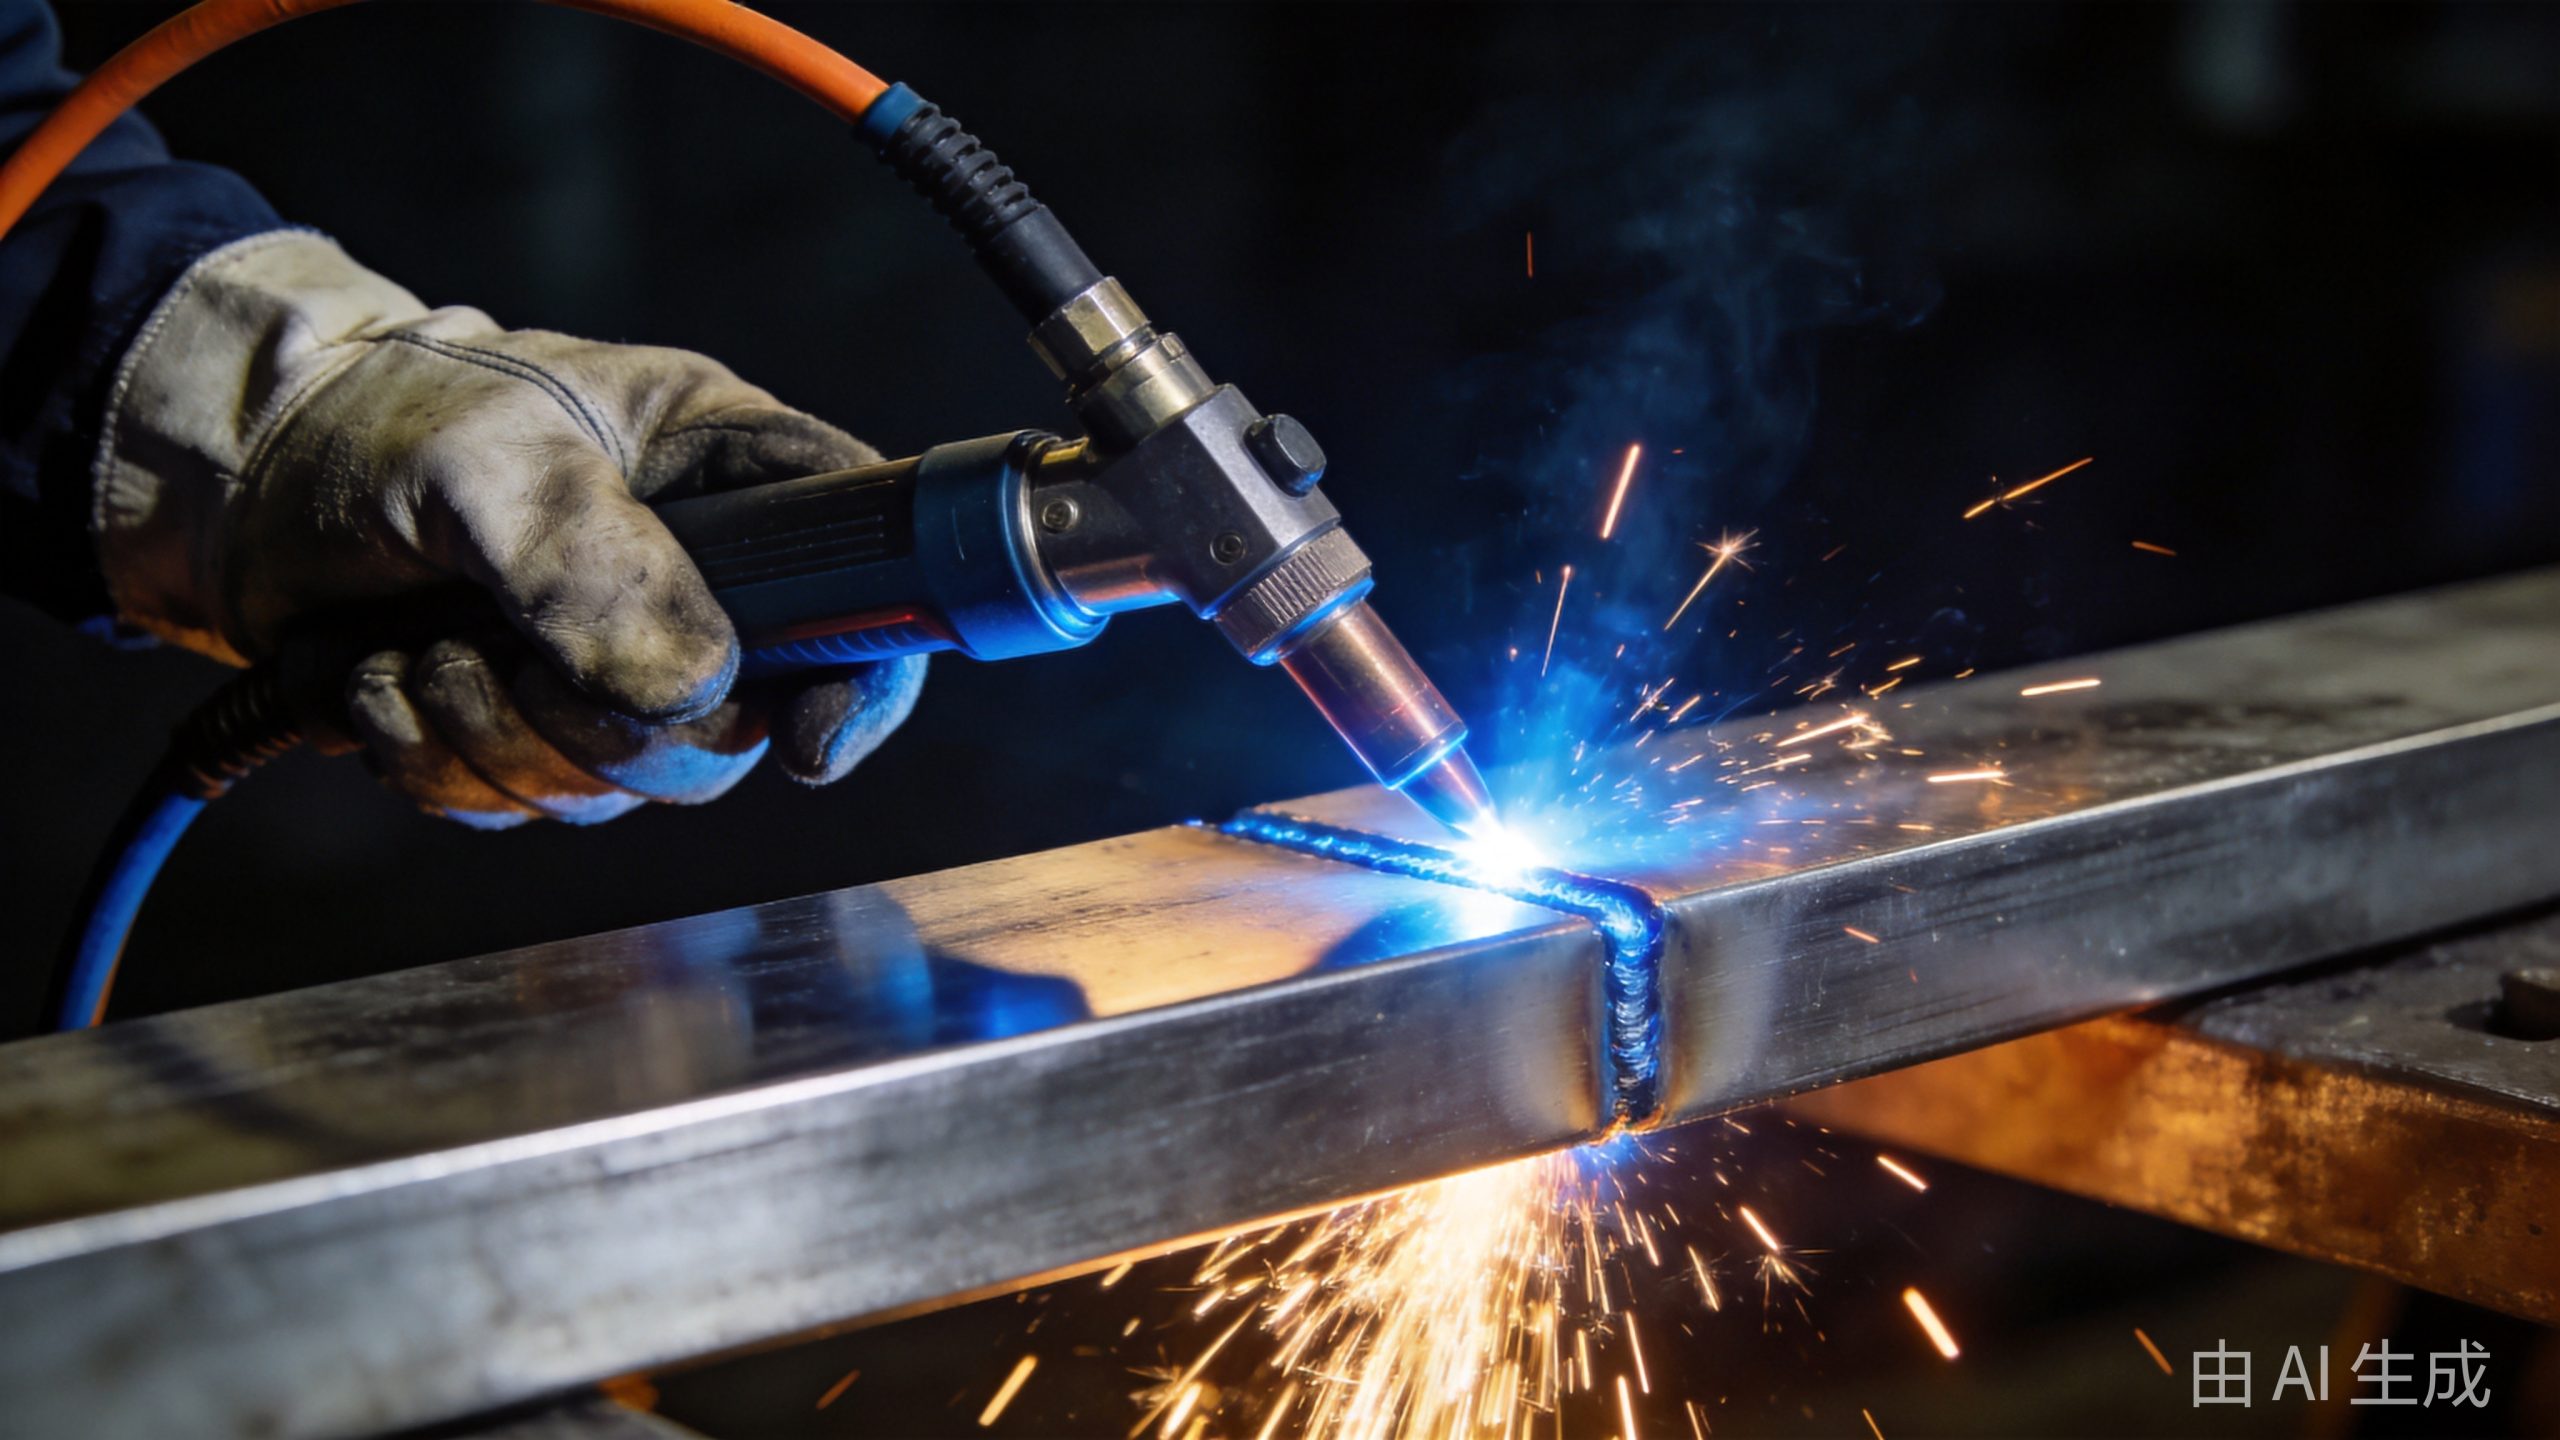
Handheld laser welding machines have taken the metal fabrication industry by storm. What used to require a skilled TIG welder and hours of practice can now be done by nearly any operator with just a few days of training. But how exactly does this technology work?
In this guide, we break down the inner workings of handheld laser welding machines — component by component, step by step. Whether you’re evaluating a purchase, training operators, or simply curious about the technology, you’ll come away with a clear understanding.
Quick Overview: What Is a Handheld Laser Welding Machine?
A handheld laser welding machine uses a high-power fiber laser beam to melt and fuse metal parts together. Unlike traditional laser welding machines that are mounted on robotic arms or gantries, the laser beam is delivered through a flexible fiber optic cable to a handheld welding gun — giving the operator the freedom to weld complex shapes, large assemblies, and hard-to-reach joints.
Key advantages over traditional welding methods:
– 5–10x faster than TIG welding
– Minimal training required (operators can be productive in hours, not months)
– Beautiful welds with little to no post-processing (grinding, polishing)
– Low heat input means less distortion and stronger joints
– Versatile — welds stainless steel, carbon steel, aluminum, copper, brass, and more
If you’re shopping for one, check out our Handheld Laser Welding Machine Buyer’s Guide or see how much they cost.
Core Components of a Handheld Laser Welding Machine
A handheld laser welding system consists of several key components working together. Let’s go through each one.
1. Fiber Laser Source
The laser source is the heart of the machine — it generates the laser beam that does the actual welding.
In nearly all handheld laser welders, the laser source is a fiber laser:
– Pump diodes: Arrays of high-power laser diodes emit light at ~915–976 nm wavelength
– Active fiber: Optical fiber doped with ytterbium (Yb) that amplifies light to ~1064 nm (near-infrared)
– Fiber Bragg Gratings (FBGs): Act as mirrors at each end of the active fiber, creating the optical cavity that builds up laser energy
The 1064 nm wavelength is ideal for welding metals because it’s well-absorbed by most metals and can be delivered efficiently through fiber optic cables.
Common power levels for handheld welding:
– 1000W (1kW): Entry-level, good for thin materials (up to ~2mm)
– 1500W (1.5kW): Most popular, versatile for 0.5–3mm materials
– 2000W (2kW): Higher productivity, handles up to 4–5mm
– 3000W (3kW): Heavy-duty, thick materials and high-volume production
2. Fiber Optic Delivery Cable
The laser beam travels from the source to the welding gun through a fiber optic cable — typically 5–10 meters long.
This cable is specially designed to carry high-power laser energy:
– Core diameter: Usually 50–200 µm (larger than cutting fibers for better weld pool stability)
– Double-clad design: Guides the laser beam efficiently with minimal loss
– Protective jacket: Reinforced for flexibility and durability in industrial environments
The cable’s length determines the working radius — how far the operator can move from the main unit. Longer cables (10m+) are useful for large fabrications, but they add cost and slightly reduce beam quality.
3. Handheld Welding Gun
The welding gun (or welding torch) is what the operator holds and manipulates. It’s a precision-engineered tool containing:
– Collimator: Takes the diverging beam from the fiber cable and makes it parallel
– Focus lens: Concentrates the beam down to a focal spot (typically 0.2–0.6 mm diameter) at the working distance
– Nozzle tip: The copper tip at the end of the gun where the laser exits and shielding gas flows. Different nozzle shapes are available for different joint types
– Shielding gas delivery: Gas flows through the nozzle to protect the molten weld pool from atmospheric contamination
– Trigger switch: A safety interlock switch on the handle — the laser only fires when the trigger is pressed AND the gun is in contact with the workpiece (more on safety below)
– Control buttons: Some models have buttons on the gun for adjusting power, mode, or wire feed speed
– Safety features: Touch sensor, temperature sensor, emergency stop
The gun is surprisingly light — typically 0.7–1.5 kg — making it comfortable for extended use.
4. Wire Feeder (Optional but Common)
Many handheld laser welding machines include an automatic wire feeder that adds filler wire to the weld joint. This is especially important for:
– Gap filling (when parts don’t fit perfectly)
– Increasing weld strength and volume
– Welding thicker materials
– Improving weld aesthetics
The wire feeder:
– Feeds filler wire (usually 0.8–1.2 mm diameter) at a controlled speed
– Is synchronized with the laser trigger — wire starts feeding when the laser fires
– Can be mounted on the welding gun itself (gun-integrated) or as a separate unit
– Supports various wire materials: stainless steel, carbon steel, aluminum, etc.
Some entry-level machines don’t include a wire feeder, making them suitable only for tight-fit butt welds on thin material.
5. Chiller / Cooling System
High-power fiber lasers generate a lot of heat. A water chiller keeps the laser source and optics at a stable operating temperature.
– Dual-circuit cooling: Separate cooling loops for the laser source and the optics (more efficient and prevents contamination)
– Temperature stability: Maintains temperature within ±0.5°C or better
– Flow rate monitoring: Alerts if cooling water flow drops below safe levels
– Filter system: Removes particles and prevents algae growth
The chiller is usually built into the main cabinet, making the machine a single self-contained unit.
6. Control System
The control system is the brain of the machine:
– Touchscreen interface: Operator sets parameters like laser power, pulse frequency, welding speed, wire feed speed, and gas flow
– Weld presets: Pre-programmed recipes for different materials, thicknesses, and joint types — the operator just selects the right one
– Real-time monitoring: Displays laser power, temperature, fault codes, and operating hours
– Parameter locking: Administrators can lock parameters to prevent untrained operators from making unsafe changes
Advanced systems include features like:
– Wobble welding mode: The beam oscillates in a circular or “8” pattern, widening the weld seam and improving gap tolerance
– Spot welding mode: Single-pulse welding for tacking or spot applications
– Seam cleaning mode: Uses the laser to clean and remove oxides from weld seams (some machines double as laser cleaning machines)
7. Shielding Gas System
Shielding gas protects the molten weld pool from oxygen and nitrogen in the air, which would cause porosity, oxidation, and weak welds.
Common shielding gases:
– Argon (Ar): Most common, provides excellent shielding, works for all metals
– Helium (He): Hotter arc, deeper penetration, more expensive
– Argon + CO₂ mix: Sometimes used for carbon steel (more common in MIG than laser welding)
– Argon + Hydrogen mix: Used for stainless steel to produce cleaner, brighter welds
Gas flow is typically 10–20 L/min and is controlled by a regulator and solenoid valve that opens when the laser fires.
8. Main Cabinet / Enclosure
All the major components — laser source, chiller, power supply, control electronics, and wire feeder spool — are housed in a single cabinet on wheels. Typical features:
– Caster wheels for easy movement around the workshop
– Cable management to protect the fiber cable and hoses
– Air filters to keep dust out of the electronics
– Emergency stop button on the front panel
Step-by-Step: How the Welding Process Works
Now let’s walk through what happens when the operator makes a weld.
Step 1: Setup & Parameter Selection
The operator:
1. Selects the appropriate weld preset on the control panel (e.g., “1.5mm stainless steel, corner joint”)
2. Sets the wire feed speed if using filler wire
3. Adjusts shielding gas flow
4. Prepares the workpiece — cleaning the joint area and fixturing the parts
Step 2: Positioning the Gun
The operator places the welding gun nozzle against the workpiece at the joint. Most machines have a stand-off guide or nozzle contact sensor that:
– Ensures the correct distance from nozzle to workpiece (usually 5–15 mm)
– Acts as a safety interlock — the laser won’t fire unless the gun is properly positioned
Step 3: Laser Activation
When the operator presses the trigger:
1. The control system confirms all safety interlocks are satisfied
2. The laser source fires — a high-power laser beam travels through the fiber cable
3. The beam is collimated and focused by the optics in the welding gun
4. The focused beam hits the metal surface at the joint
Step 4: Melting & Fusion
The intense energy of the focused laser beam rapidly heats and melts the metal:
– Keyhole mode: For deep penetration welds, the laser vaporizes a small amount of metal, creating a “keyhole” — a narrow cavity surrounded by molten metal. The laser beam travels down the keyhole, delivering energy deep into the material
– Conduction mode: For shallower welds, heat is transferred by conduction through the material. The weld pool is wider and shallower
The result is a molten weld pool that fuses the two pieces of metal together.
Step 5: Wire Feeding (If Equipped)
If filler wire is being used:
– Wire is automatically fed into the weld pool at a controlled speed
– The laser energy melts the wire along with the base material
– The filler material adds volume to the weld, fills gaps, and can improve metallurgical properties
The wire feed speed is matched to the welding speed and laser power for consistent results.
Step 6: Shielding Gas Flow
Simultaneously, shielding gas flows through the nozzle:
– Creates an inert atmosphere around the weld pool
– Prevents oxidation and porosity
– Also helps cool the nozzle and protect the optics from spatter
Step 7: Moving the Gun
The operator moves the welding gun along the joint at a steady pace. The speed depends on:
– Material type and thickness
– Laser power
– Whether filler wire is used
– Desired weld penetration
Typical welding speeds range from 10 mm/s to 100+ mm/s — much faster than TIG or MIG welding.
Step 8: Solidification
As the laser moves on, the molten weld pool cools and solidifies, forming a solid metallurgical bond between the two workpieces. The result is a clean, precise weld bead.
Key Welding Parameters
Understanding these parameters helps operators produce consistent, high-quality welds:
Laser Power
– Higher power = deeper penetration and faster welding
– Too much power = burn-through, excessive spatter, wide heat-affected zone
– Too little power = incomplete fusion, weak welds
Welding Speed
– Must be matched to laser power and material thickness
– Faster = higher productivity, but less penetration
– Slower = more heat input, deeper penetration, but risk of burn-through
Pulse Frequency & Duty Cycle
– Many machines use pulsed laser rather than continuous wave
– Pulse frequency (Hz) = number of laser pulses per second
– Higher frequency = smoother, more continuous weld bead
– Lower frequency = less heat input, good for thin materials
Focus Position
– The focal point’s position relative to the workpiece surface affects weld shape and penetration
– Focus on surface: Wide, shallow weld (conduction mode)
– Focus below surface: Narrow, deep weld (keyhole mode) — most common for laser welding
– Focus above surface: Wider spot, less intensity — sometimes used for heat conduction welding
Wire Feed Speed
– Must be matched to travel speed and power
– Too fast = excess wire buildup, poor fusion
– Too slow = insufficient filler, gaps or underfill
Shielding Gas Type & Flow
– Gas type depends on material (argon is universal)
– Flow rate: too low = insufficient shielding, porosity; too high = turbulence, which can actually pull in air
Wobble Welding: A Key Feature
Most modern handheld laser welders offer wobble welding (also called oscillation or beam weaving). Here’s how it works:
Inside the welding gun, a small galvanometer mirror oscillates the laser beam in a controlled pattern — typically circular, “8”-shaped, or linear (side-to-side).
Benefits of wobble welding:
– Wider weld seam: The oscillating beam creates a wider weld (2–5 mm vs. 0.2–1 mm for a fixed beam), improving gap tolerance
– Better gap bridging: Can handle gaps up to 1–2 mm (vs. <0.2 mm for fixed-beam laser welding)
- More consistent welds: The stirring action of the oscillating beam produces a more uniform weld pool
– Adjustable width: Operators can adjust the wobble amplitude and frequency for different applications
Wobble welding is one of the reasons handheld laser welders are so practical for real-world fabrication — where parts never fit perfectly.
Safety Systems
Handheld laser welders are Class 4 laser devices — the laser beam can cause serious eye and skin damage. Modern machines include multiple safety layers:
Contact Safety
– The laser only fires when the nozzle is in contact with the workpiece (touch sensor interlock)
– If contact is lost during welding, the laser immediately shuts off
Trigger Safety
– Two-hand operation or trigger + contact required
– Some models have a key switch for power authorization
Protective Eyewear
– Operators and bystanders must wear laser safety glasses matched to the 1064 nm wavelength
– The glasses absorb the laser light while allowing visible light through
Enclosed Beam Path
– The laser beam is fully enclosed within the fiber cable and welding gun
– No exposed beam except at the workpiece contact point
Temperature Monitoring
– Sensors monitor laser source, optics, and cooling system temperature
– Automatic shutoff if overheating occurs
Emergency Stop
– E-stop button on both the control panel and sometimes the welding gun itself
Fume Extraction
– Welding fumes (especially from galvanized or coated metals) must be extracted
– Many machines include or recommend a fume extraction system
Important: Always follow the manufacturer’s safety guidelines and provide proper operator training.
Maintenance Requirements
Handheld laser welders are relatively low-maintenance compared to other welding equipment. Here’s what’s needed:
| Component | Maintenance Frequency | What’s Done |
|---|---|---|
| Nozzle tip | Daily | Clean spatter, replace if worn or damaged |
| Protective window | Daily–Weekly | Clean or replace if contaminated with spatter |
| Focus lens | Monthly–Quarterly | Inspect and clean |
| Fiber cable | Monthly | Inspect for damage, clean connectors |
| Chiller water filter | Monthly | Clean or replace filter |
| Chiller water | Every 3–6 months | Drain and refill with deionized water |
| Wire feeder | Weekly | Clean drive rolls, check tension |
| Laser source | 50,000+ hr life | No routine maintenance needed |
The fiber laser source has a typical lifetime of 50,000–100,000 hours — essentially the life of the machine.
How It Compares to Traditional Welding
| Method | How It Works | Speed | Skill Required | Heat Input | Distortion |
|---|---|---|---|---|---|
| Handheld Laser | Focused laser beam melts metal; filler wire optional | Very fast (5–10x TIG) | Low (days of training) | Low | Minimal |
| TIG Welding | Tungsten electrode creates arc; filler rod added manually | Slow | High (months of training) | Medium | Moderate |
| MIG Welding | Wire electrode creates arc; gas shields the weld | Medium–Fast | Medium | High | Significant |
| Spot Welding | Resistance heating between two electrodes | Fast (for spot applications) | Low | Medium–High | Localized |
For a detailed comparison, see our Laser Welding vs TIG vs MIG vs Arc Welding article.
Common Applications
Handheld laser welding machines are used across many industries:
– Sheet metal fabrication: Cabinets, enclosures, chassis, ductwork
– Kitchen equipment: Stainless steel sinks, countertops, commercial kitchen appliances
– Automotive: Body panels, exhaust systems, brackets
– Furniture: Metal furniture frames, tables, chairs
– Aerospace: Precision components, sheet metal assemblies
– Medical devices: Surgical instruments, equipment housings
– Signage & advertising: Channel letters, metal signs
– Pipe & tube: Tube joints, handrails, guardrails
See more in our article on 10 Industrial Applications of Laser Welding.
Conclusion
A handheld laser welding machine works by generating a high-power fiber laser beam, delivering it through a flexible fiber optic cable to a handheld welding gun, and focusing it onto the workpiece to melt and fuse metal. Filler wire (if equipped) adds material for gap filling and strength, while shielding gas protects the molten weld pool from contamination.
The combination of speed, ease of use, and beautiful weld quality explains why handheld laser welders are rapidly replacing TIG and MIG in many sheet metal and fabrication shops.
If you’re considering a handheld laser welding machine for your business, explore Transon Laser’s handheld laser welder lineup or contact our team for a consultation.
Further Reading:
– How to Choose a Handheld Laser Welding Machine
– How Much Does a Handheld Laser Welding Machine Cost?
– Laser Welding vs TIG vs MIG vs Arc Welding: Which Is Right for You?
– 10 Industrial Applications of Laser Welding