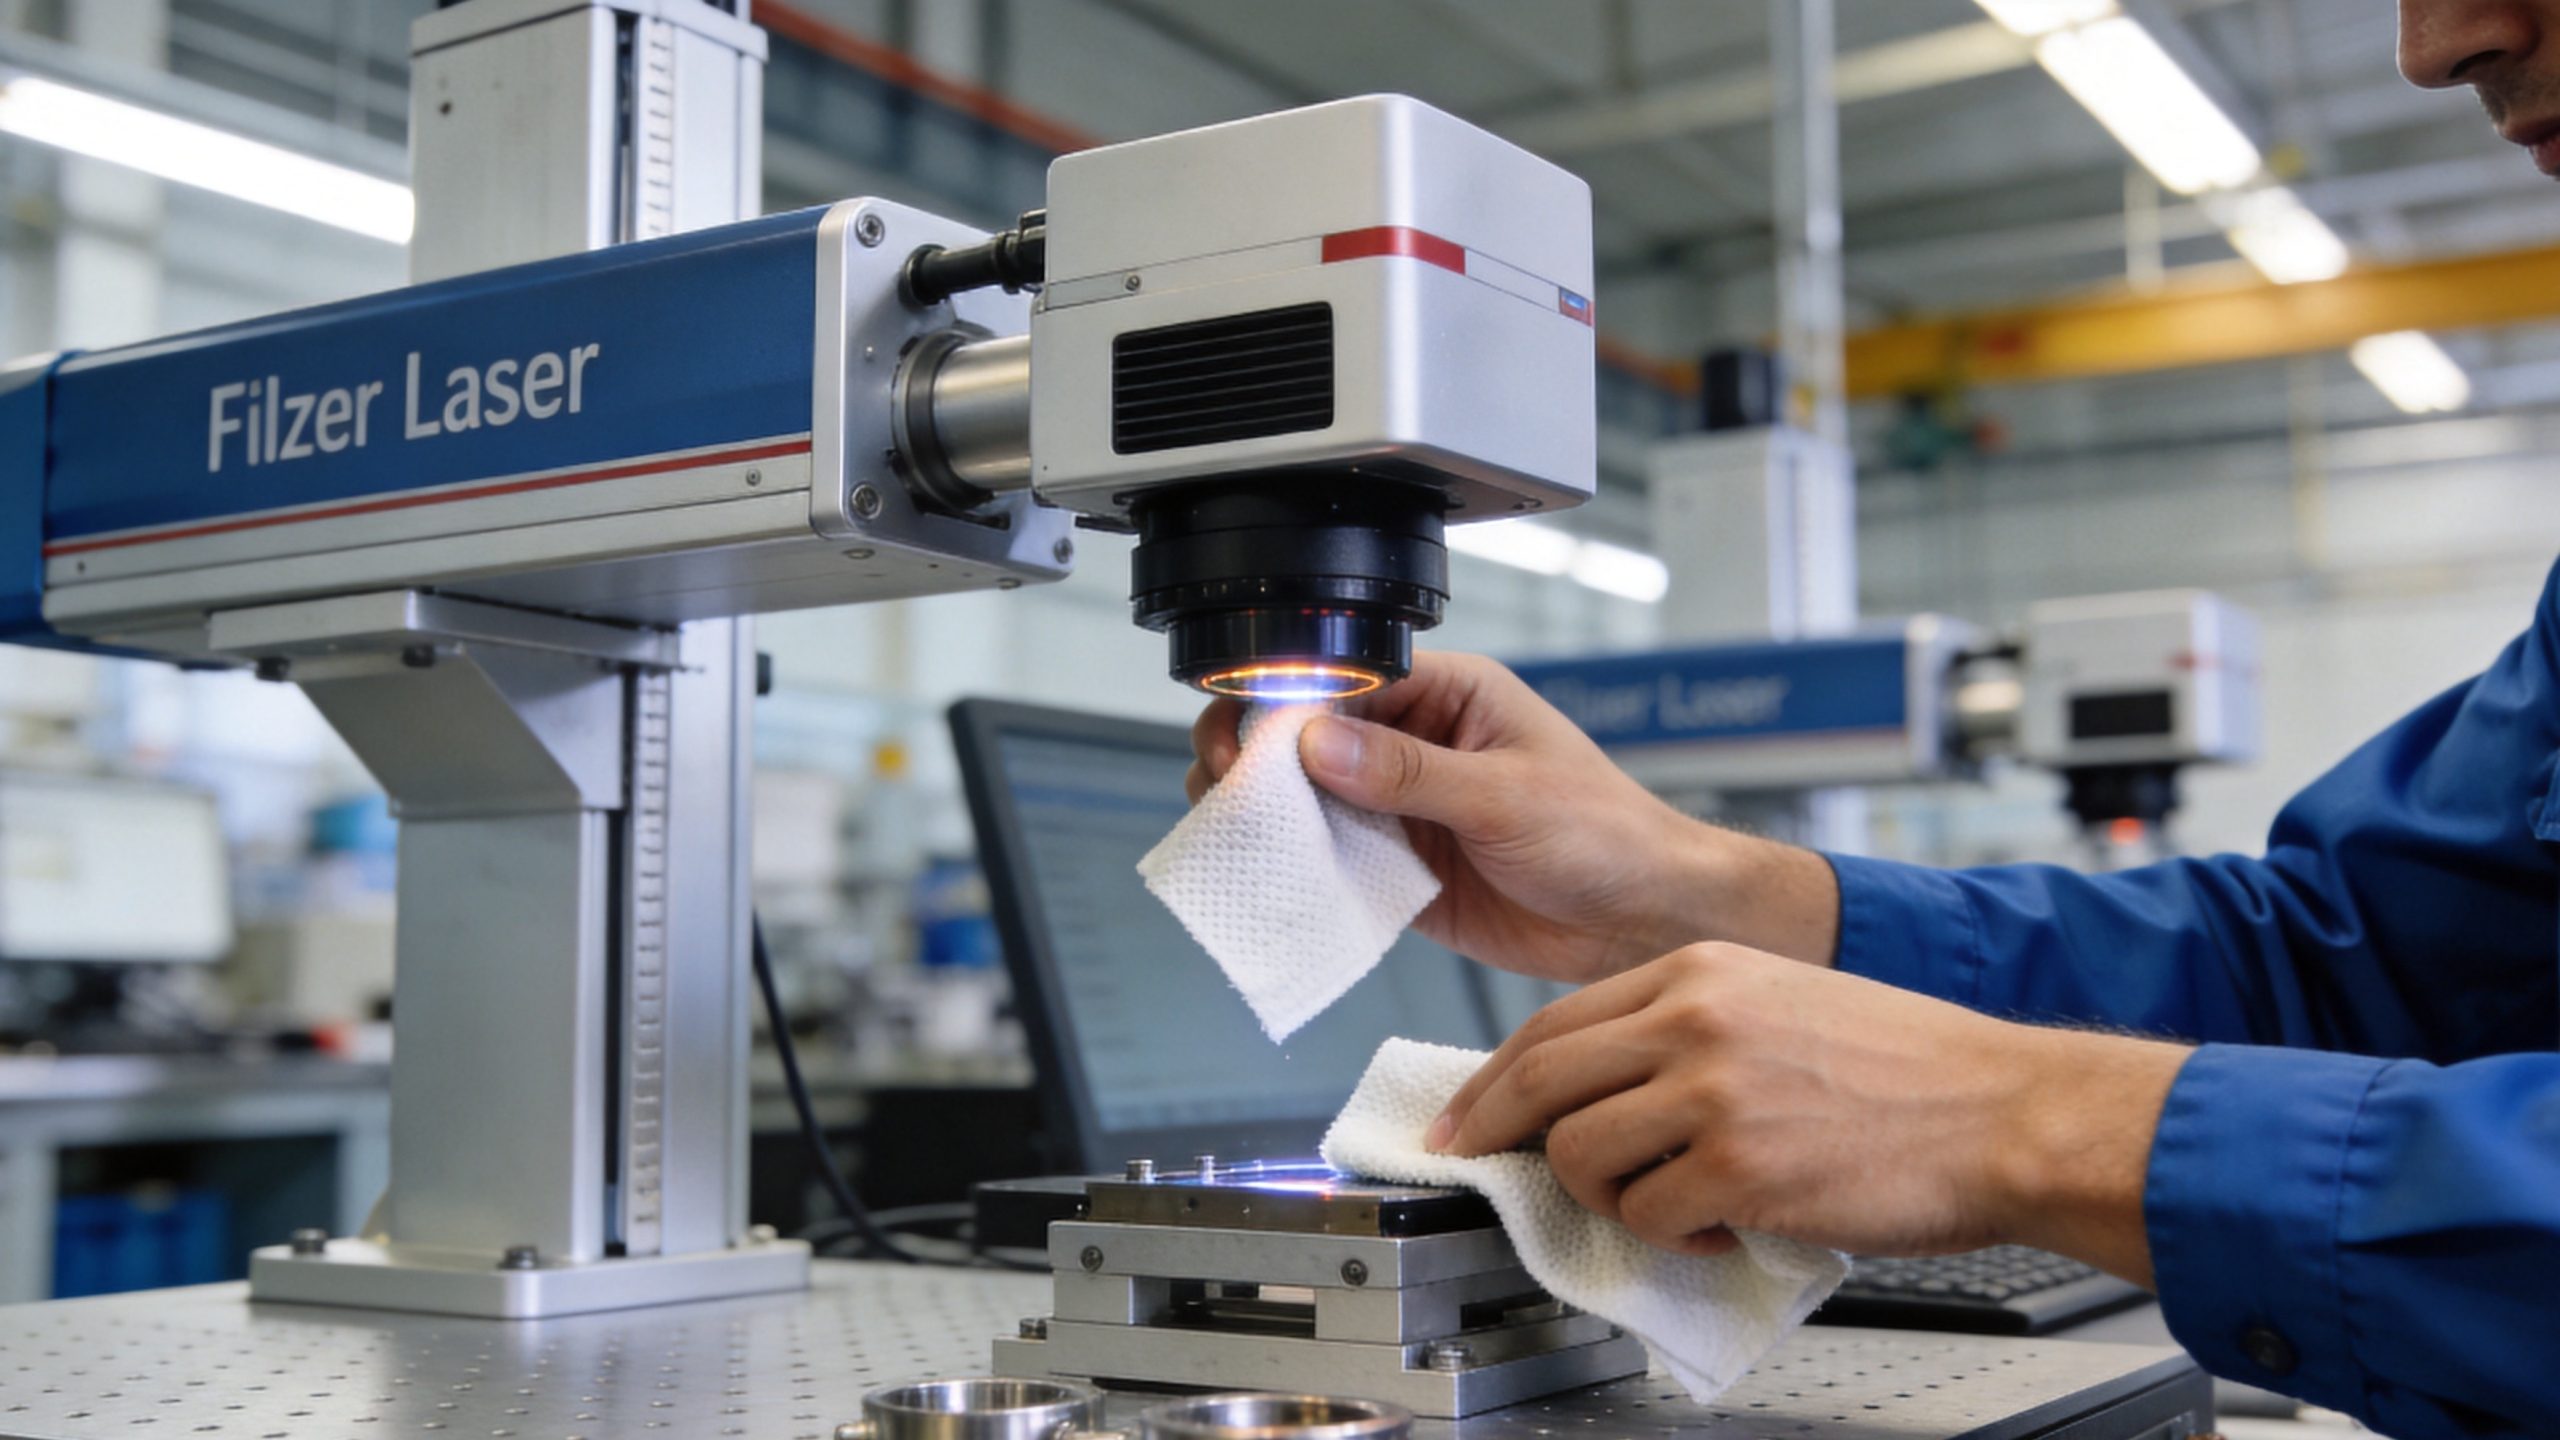
Fiber laser marking machines are workhorses of modern manufacturing — they mark parts at high speed with permanent, high-quality marks, and they do it with minimal operator intervention. But “minimal” doesn’t mean “zero.” A neglected laser marking machine will gradually lose mark quality, suffer from inconsistent performance, and eventually fail unexpectedly.
This guide covers everything you need to know about fiber laser marking machine maintenance — daily checks, weekly deep cleans, monthly inspections, and annual professional service. Follow this schedule and your machine will deliver consistent, high-quality marks for 10+ years.
Why Regular Fiber Laser Marking Machine Maintenance Matters
Let’s start with the business case. Why invest time in maintenance when the machine seems to be running fine?
1. Consistent Mark Quality
A clean lens, properly aligned galvanometer, and stable laser output are what produce sharp, legible marks every time. When these degrade, you get:
– Faint or blurry marks that fail quality inspection
– Inconsistent mark depth across a batch
– Positioning drift — marks appear in the wrong place
– Color variation on color-marking applications (like annealing on stainless steel)
2. Longer Machine Lifespan
A well-maintained fiber laser marking machine can easily last 10–15 years with the original laser source. The fiber laser source itself is rated for 50,000–100,000 hours, but the surrounding systems — optics, galvanometer, cooling, motion — are what typically fail first.
3. Lower Operating Cost
Dirty optics waste laser power, forcing you to run at higher settings and accelerating wear on the laser source. A contaminated field lens can reduce effective power by 15–30%, which means slower marking and more energy consumption per part.
4. Fewer Unexpected Breakdowns
Roughly 70% of laser marking machine downtime is preventable with routine maintenance. Five minutes of daily inspection can catch a loose cable, a dirty lens, or a failing fan before it causes a full production stop.
5. Warranty Compliance
Most manufacturers require documented routine maintenance to honor the warranty. Skipping scheduled service can void your coverage — and a galvanometer or laser source replacement is not something you want to pay out of pocket.
Fiber Laser Marking Machine Maintenance Schedule
Here’s a complete maintenance routine organized by frequency. Adjust based on your operating hours — if you run 2 shifts per day, shorten the intervals by roughly 40%.
Daily Maintenance (Before Each Shift)
Time required: 5–10 minutes
| Task | What to Check | Action if Abnormal |
|---|---|---|
| Machine exterior | Dust, debris, oil spills on work surface and machine frame | Wipe clean with a dry cloth; remove any parts or scrap |
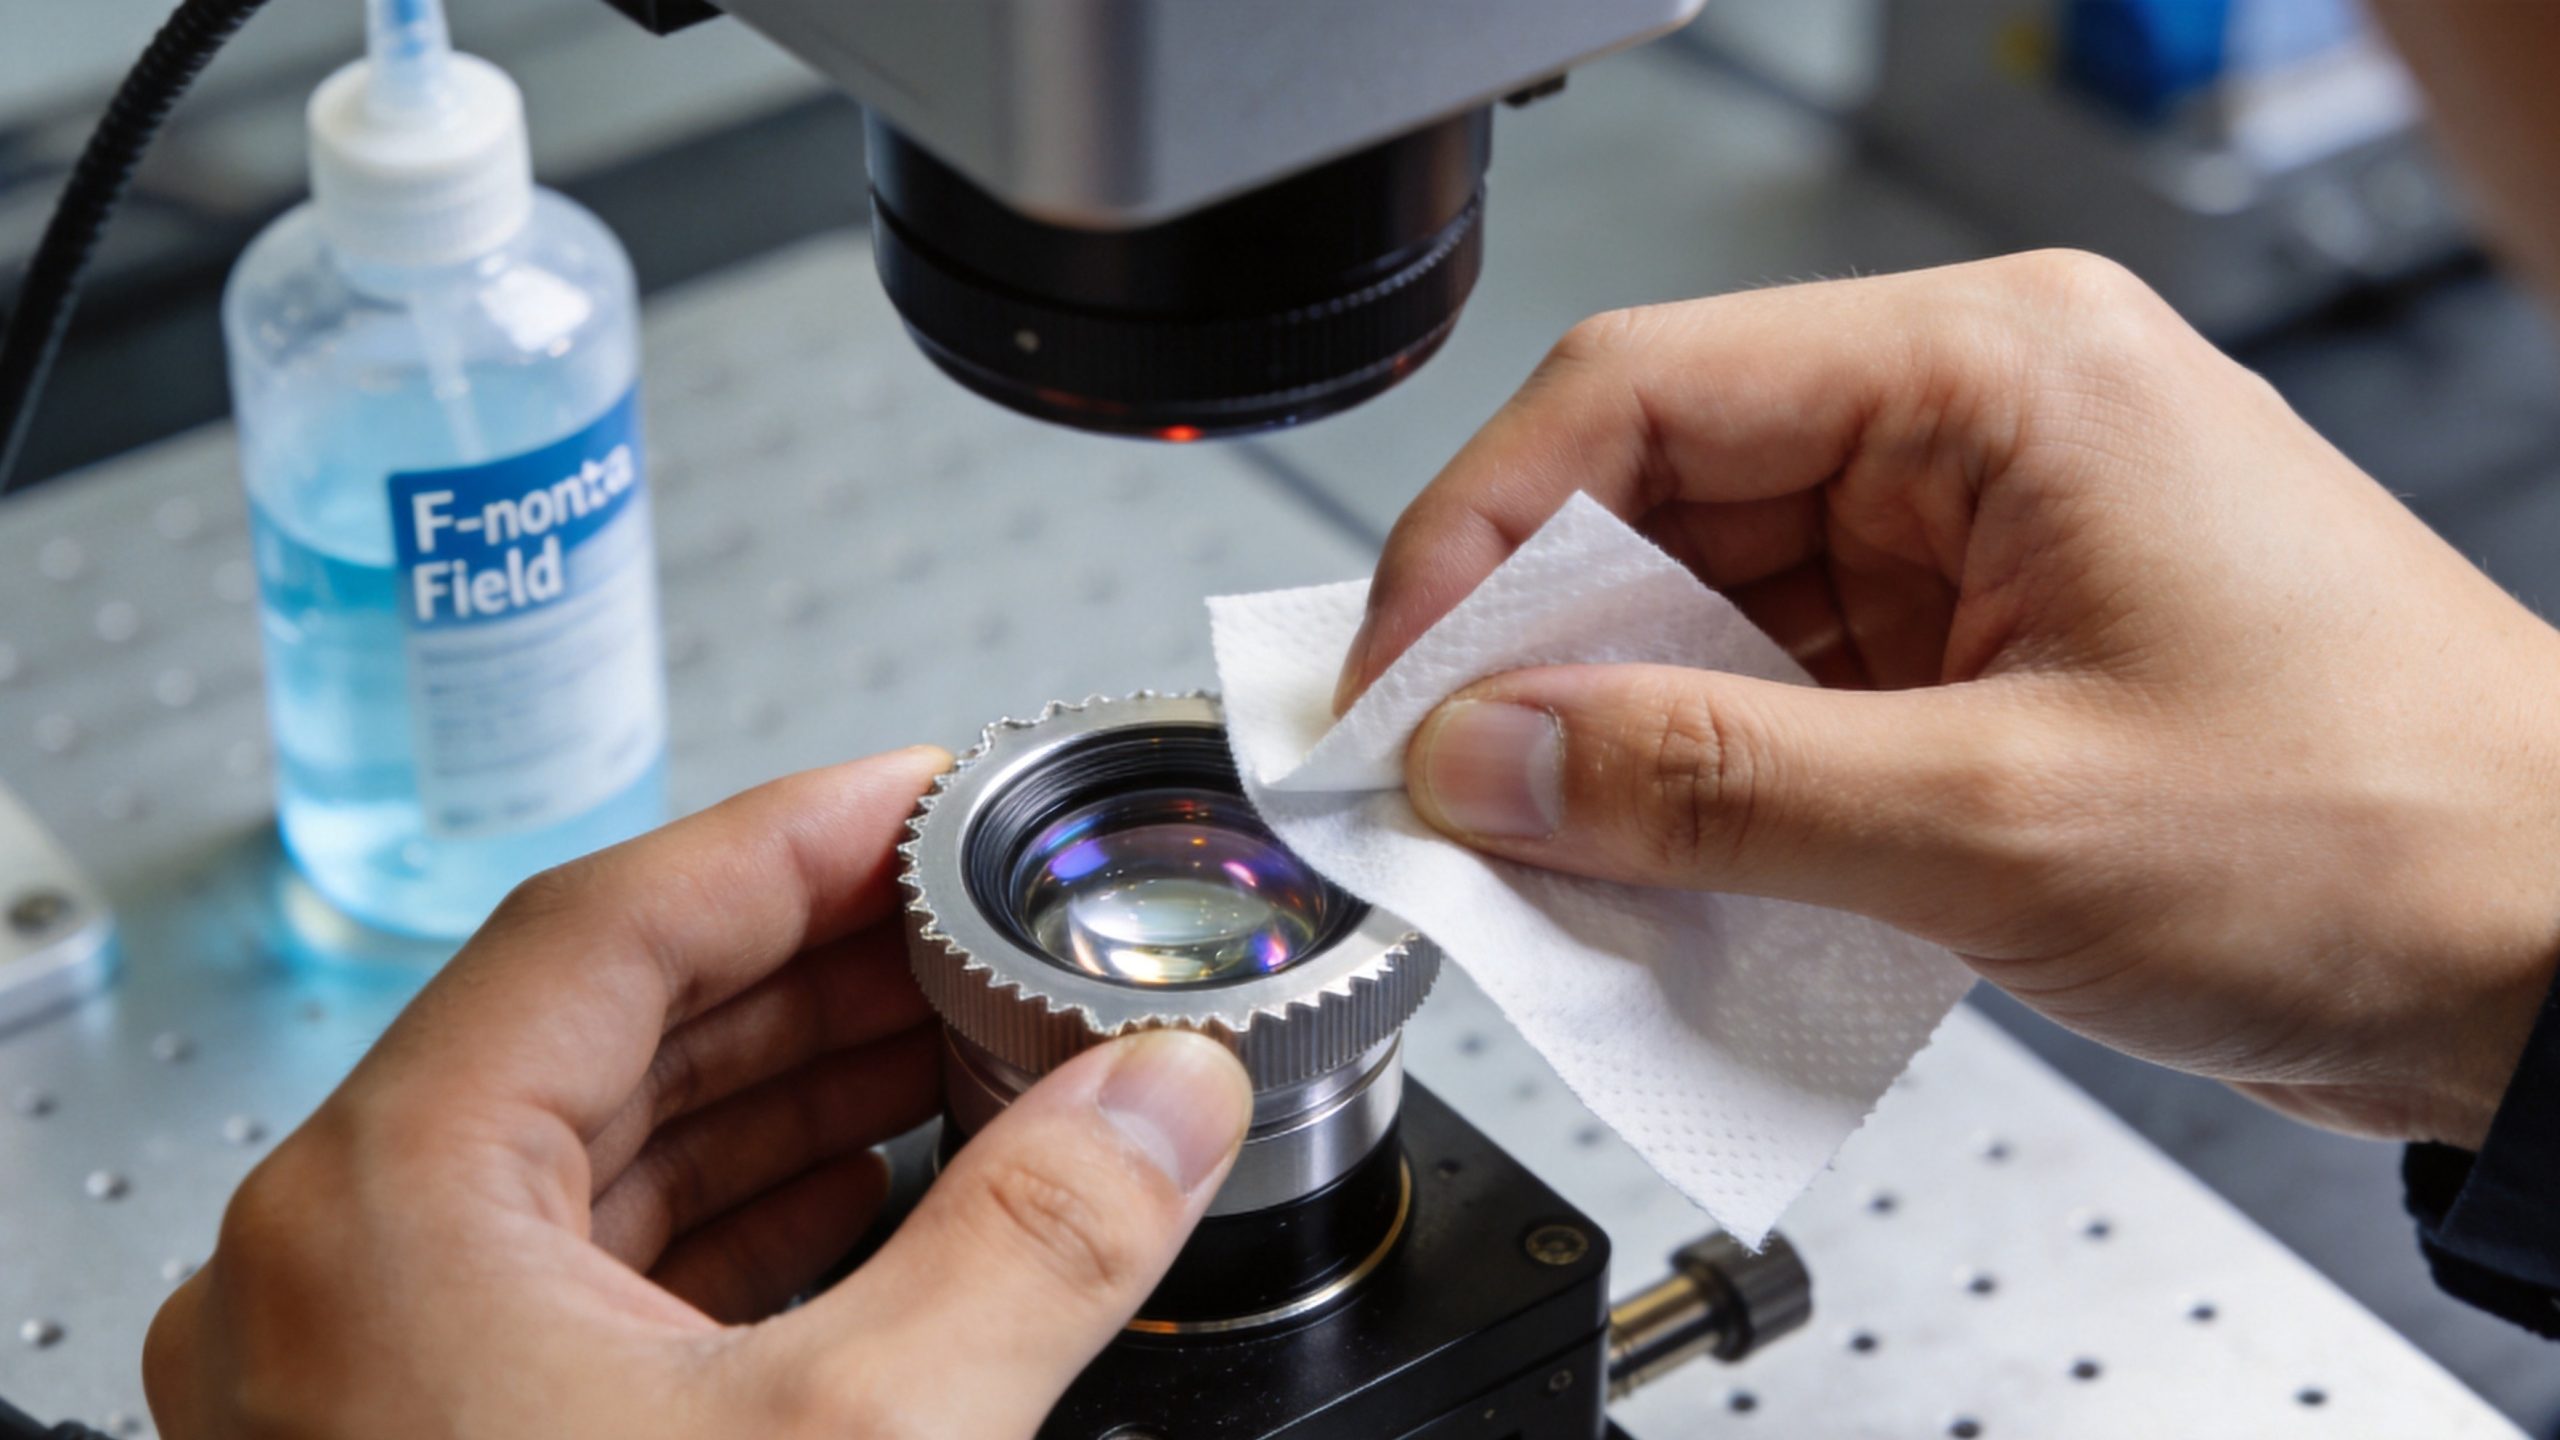
| Field lens / F-theta lens | Visible contamination, dust, or fingerprints on lens surface | Clean with lens paper and isopropyl alcohol; replace if damaged |
| Red dot / aiming laser | Visible and correctly positioned | Recalibrate red dot alignment if off |
| Mark quality test | Run a test mark on scrap material; verify clarity, position, and depth | Adjust parameters or clean optics if quality is poor |
| Chiller (if water-cooled) | Water temperature and water level in tank | Top up with deionized or distilled water if low |
| Air cooling vents (if air-cooled) | Intake and exhaust vents clear of obstruction | Clear any blockages; ensure adequate airflow around machine |
| Emergency stop & safety interlocks | Function properly | Test E-stop button and any safety interlocks |
| Cable connections | All cables securely connected, no damage visible | Tighten loose connections; replace damaged cables |
Pro tip: Make daily checks part of the operator’s shift-start routine. Post a printed checklist near the machine and have the operator sign off each day. It takes 5 minutes and prevents most common issues.
Weekly Maintenance
Time required: 20–30 minutes
| Task | Procedure | Frequency Note |
|---|---|---|
| Clean the field lens | Remove and clean both sides of the F-theta lens with lens paper and isopropyl alcohol | Use only certified lens cleaning kits — never touch optics with bare fingers |
| Clean the galvanometer aperture window | Clean the protective window at the galvanometer output | Accessible from below the galvo head |
| Inspect and clean the red dot pointer | Clean the red dot lens; verify alignment with a test mark | Recalibrate if misaligned |
| Check marking head position | Verify Z-axis height lock; check for any play or looseness | Tighten locking mechanism if needed |
| Clean work surface and fixture | Remove all dust, debris, and marking residue from work area | Use a lint-free cloth; avoid harsh chemicals that could damage the surface |
| Inspect cable management | Check cable chains and drag links for damage; ensure cables move freely | Replace broken links; reroute pinched cables |
| Verify mark positioning accuracy | Run a positioning test mark; measure actual vs. expected position | Recalibrate galvanometer if out of tolerance |
Monthly Maintenance
Time required: 45–60 minutes
| Task | Procedure | Why It Matters |
|---|---|---|
| Deep clean the laser source cabinet | Blow out dust with low-pressure dry air; inspect fans and vents | Overheating shortens diode life |
| Inspect the galvanometer scanner | Check for unusual noises, slow response, or positioning drift | Galvanometer is the most expensive wear item after the laser source |
| Check all cable connections | Inspect and reseat all fiber optic cables, power cables, and signal cables | Vibration can loosen connections over time |
| Inspect cooling system | Clean filters; check for algae or mineral buildup in water-cooled machines | Poor cooling causes beam instability and reduces laser life |
| Verify laser power output | Measure actual power with a power meter; compare to rated output | Gradual power drop can indicate aging diodes or dirty optics |
| Inspect safety features | Test all safety interlocks, enclosure sensors, and key switch | Regulatory compliance and operator safety depend on these working |
| Check software and firmware | Verify software version; install updates if available | Bug fixes and performance improvements are released regularly |
Quarterly Maintenance (Professional Service Recommended)
Time required: 2–3 hours
| Task | Procedure |
|---|---|
| Full optical path inspection | Professional inspection of all optical components |
| Laser power output calibration | Full power measurement and calibration across the marking field |
| Galvanometer calibration and tuning | Professional calibration of galvo scanners for accuracy and speed |
| Field lens flat-field correction | Verify marking uniformity across the entire marking field |
| Cooling system service | Drain, flush, and refill cooling system with fresh fluid |
| Electrical system inspection | Tighten all terminal connections; inspect contactors and relays |
| Safety system full test | Complete safety system validation and certification |
Annual Maintenance (Professional Service Required)
Time required: 4–6 hours, typically by a factory-trained engineer
| Task | Details |
|---|---|
| Complete laser source inspection | Check diode health, power supply, fiber integrity |
| Full optical system overhaul | Replace all protective windows; inspect all optical components |
| Galvanometer service | Full galvanometer inspection, lubrication, and calibration |
| Motion system service | Inspect and service Z-axis, rotary axis, and any XY motion stages |
| Electrical system preventive maintenance | Replace aging contactors, relays, and cooling fans |
| Software and firmware update | Install latest machine control software and firmware |
| Full performance validation | Complete marking test with various materials and mark types |
| Maintenance report and certificate | Document all work for warranty and quality records |
How to Clean Fiber Laser Marking Optics (Step-by-Step)
Optics cleaning is the most frequently performed maintenance task — and the one most often done wrong. A scratched field lens costs $300–$800 to replace.
What You’ll Need
- Lens cleaning tissue (lint-free, optical-grade — never use regular paper towels or cloth)
- Isopropyl alcohol (99%+ purity, anhydrous — not drugstore rubbing alcohol)
- Lens cleaning solution (specialized optical cleaner, optional)
- Compressed dry air or nitrogen (clean, oil-free)
- Tweezers with soft tips (optional, for handling small optics)
Step-by-Step Cleaning Procedure
- Prepare a clean workspace. Wipe down the work surface and lay down a clean lint-free cloth.
- Wash your hands thoroughly. Even small amounts of skin oil can contaminate optics.
- Remove the field lens carefully. Hold it only by the edges of the lens housing — never touch the optical surface.
- Inspect first. Hold the lens up to a light source at an angle. If you can’t see contamination, it probably doesn’t need cleaning. Over-cleaning causes more damage than under-cleaning.
- Blow off loose dust. Use low-pressure dry air or nitrogen at a 45° angle, blowing from center outward.
- Wet-clean if needed. Fold a lens tissue into a small pad, dampen (not soak) with alcohol, and gently wipe in a single straight line across the lens. Use a fresh section of tissue for each pass.
- Dry immediately. Use a dry lens tissue to blot any remaining moisture before it evaporates (evaporation leaves spots).
- Reinspect. Hold the lens up to the light again. If contamination remains, repeat with fresh tissue.
- Reinstall carefully. Make sure the lens is correctly oriented (the flat side usually faces up, curved side down — check your machine manual) and seated properly.
Critical rule: If a lens has burn spots, pits, or scratches deep enough to feel with a toothpick, replace it — don’t try to clean it. A damaged lens will continue to degrade mark quality and can cause further damage to downstream optics.
Common Fiber Laser Marking Machine Maintenance Mistakes
Avoid these costly mistakes that we see in nearly every shop that’s new to fiber laser marking.
1. Using the Wrong Cleaning Materials
Regular paper towels, shop rags, or 70% rubbing alcohol will scratch or leave residue on optical surfaces. Always use optical-grade lens tissue and 99%+ isopropyl alcohol.
Cost of getting it wrong: A single scratched F-theta field lens = $300–$800 replacement.
2. Skipping Daily Checks Because “Everything Seems Fine”
A dirty field lens doesn’t announce itself — it just slowly degrades mark quality. By the time you notice, you’ve wasted hours of production and possibly damaged more expensive optics underneath.
3. Touching Optics with Bare Fingers
Skin oil etches into optical coatings over time. Always handle lenses by the edges, or use gloves or lens tissue.
4. Using Tap Water in the Chiller
Tap water contains minerals that cause scaling and corrosion in the laser source cooling channels. Always use distilled or deionized water with the manufacturer-recommended corrosion inhibitor.
5. Ignoring the Galvanometer
The galvanometer scanners are precision instruments with moving parts. If you hear unusual noises (grinding, squealing) or notice positioning drift, don’t keep running — get it serviced. A seized galvanometer can cost $2,000–$5,000 to replace.
6. Overlooking Cable Strain
Fiber optic cables and signal cables that are repeatedly bent, pulled, or pinched will eventually fail. Make sure cable management is properly set up and that cables have proper strain relief.
7. Not Tracking Maintenance Records
Without a log, you can’t correlate maintenance actions with machine performance or consumable life. You also lose warranty coverage if you can’t prove scheduled maintenance was performed.
Fiber Laser Marking Machine Maintenance Cost Breakdown
How much should you budget for maintenance? Here’s a realistic breakdown for a typical 20–50W fiber laser marking machine running 1 shift per day.
| Cost Category | Annual Cost | Notes |
|---|---|---|
| Consumables (lenses, protective windows) | $300 – $800 | Depends heavily on operating hours and environment |
| Preventive maintenance service | $800 – $2,000 | 1–2 professional service visits per year |
| Replacement parts (filters, O-rings, sensors) | $200 – $600 | Normal wear items |
| Cooling system maintenance | $100 – $300 | Annual fluid replacement + filter changes (water-cooled only) |
| Software/firmware updates | $0 – $500 | Often included with service contracts |
| Total annual maintenance | $1,400 – $4,200 | Per machine, 1-shift operation |
For 2-shift operation, budget roughly 1.6–1.8× these numbers.
Cost-saving tip: Many manufacturers offer annual service contracts that bundle preventive maintenance visits, priority response time, and discounted parts. For high-production environments, these contracts usually pay for themselves in reduced downtime alone.
Signs Your Machine Needs Immediate Service
Don’t wait for a full breakdown. Call your service provider if you notice any of these red flags:
- Sudden, unexplained drop in mark quality that can’t be fixed with parameter adjustments or a lens cleaning
- Visible arcing or sparking inside the laser source or beam path
- Unusual noises from the galvanometer (grinding, squealing, knocking)
- Water leaks from the chiller, laser source, or cooling lines
- Error codes related to laser temperature, interlocks, or power supply that recur frequently
- Positioning errors that keep appearing even after recalibration
- Burning smell or visible smoke from any electrical enclosure
- Laser power drop of more than 15% from rated output
- Galvanometer slow response or “jittery” marking movement
When in doubt, call. An hour of professional diagnosis is almost always cheaper than running a damaged machine and causing more extensive failure.
How to Choose a Maintenance Service Provider
Not all laser machine service is equal. Here’s what to look for when choosing a maintenance partner:
Key Factors to Evaluate
- Factory certification: Are their technicians factory-trained by the machine manufacturer?
- Response time: How quickly can they get to your facility for an emergency? Aim for 24–48 hours for critical issues.
- Parts inventory: Do they stock common replacement parts locally, or does everything ship from overseas?
- Service contract options: Do they offer preventive maintenance plans, or only break-fix service?
- Warranty on work: Do they guarantee their service work?
- Remote diagnostic capability: Can they troubleshoot many issues remotely, saving an on-site visit?
- Customer references: Can they provide references from similar shops in your industry?
Why Manufacturer-Direct Service Usually Wins
For critical production equipment, going through the machine manufacturer or an authorized distributor is usually worth the premium over independent third-party service. Here’s why:
- They have direct access to the latest technical documentation and firmware updates
- Their technicians see dozens of identical machines and know the common failure modes
- Parts are guaranteed genuine and covered by warranty
- Service records stay with the machine’s serial number, preserving resale value
For example, Transon Laser provides comprehensive after-sales support for all their fiber laser marking machines, including:
– Factory-trained service engineers available for on-site installation and training
– Standard 2-year warranty on the complete machine (3 years on the fiber laser source)
– Lifetime technical support and software updates
– Preventive maintenance service packages tailored to your operating hours
– Remote diagnostics capability for fast troubleshooting
Maintenance Checklist (Printable Summary)
Here’s a quick-reference checklist you can print and post near the machine:
Daily
- [ ] Machine exterior and work area clean
- [ ] Field lens clean and undamaged
- [ ] Red dot pointer visible and aligned
- [ ] Test mark quality verified
- [ ] Chiller temperature and water level normal (water-cooled)
- [ ] Cooling vents clear (air-cooled)
- [ ] Emergency stop tested
- [ ] All cable connections secure
Weekly
- [ ] Field lens cleaned both sides
- [ ] Galvanometer aperture window cleaned
- [ ] Red dot pointer cleaned and aligned
- [ ] Marking head Z-axis secure
- [ ] Work surface and fixture cleaned
- [ ] Cable management inspected
- [ ] Positioning accuracy verified
Monthly
- [ ] Laser cabinet and fans cleaned
- [ ] Galvanometer inspected for noise/drift
- [ ] All cable connections reseated
- [ ] Cooling system serviced
- [ ] Laser power output verified
- [ ] Safety features fully tested
- [ ] Software/firmware updated if needed
Quarterly (Professional)
- [ ] Full optical path inspection
- [ ] Laser power output calibrated
- [ ] Galvanometer calibrated
- [ ] Field lens flat-field correction verified
- [ ] Cooling system fluid replaced
- [ ] Electrical connections tightened
- [ ] Safety systems full test
Conclusion
Fiber laser marking machine maintenance isn’t glamorous work, but it’s the difference between a machine that produces perfect marks reliably for 10+ years and one that’s a constant source of downtime, scrap, and repair bills.
The core idea is simple: small, regular efforts prevent big, expensive failures. Spend 5 minutes at the start of each shift on daily checks, 20 minutes once a week on deeper cleaning and inspection, and schedule professional service at least once per year. Your machine — and your bottom line — will thank you.
If you’re in the market for a new fiber laser marking machine or looking for reliable service support for your existing equipment, Transon Laser offers a full range of fiber laser markers (from 20W entry-level models up to 100W high-power machines, including UV and CO2 options) backed by comprehensive after-sales support. Reach out to their team for a consultation tailored to your production needs. Wondering about the investment? Check out our complete fiber laser marking machine cost guide for detailed pricing and ROI analysis.