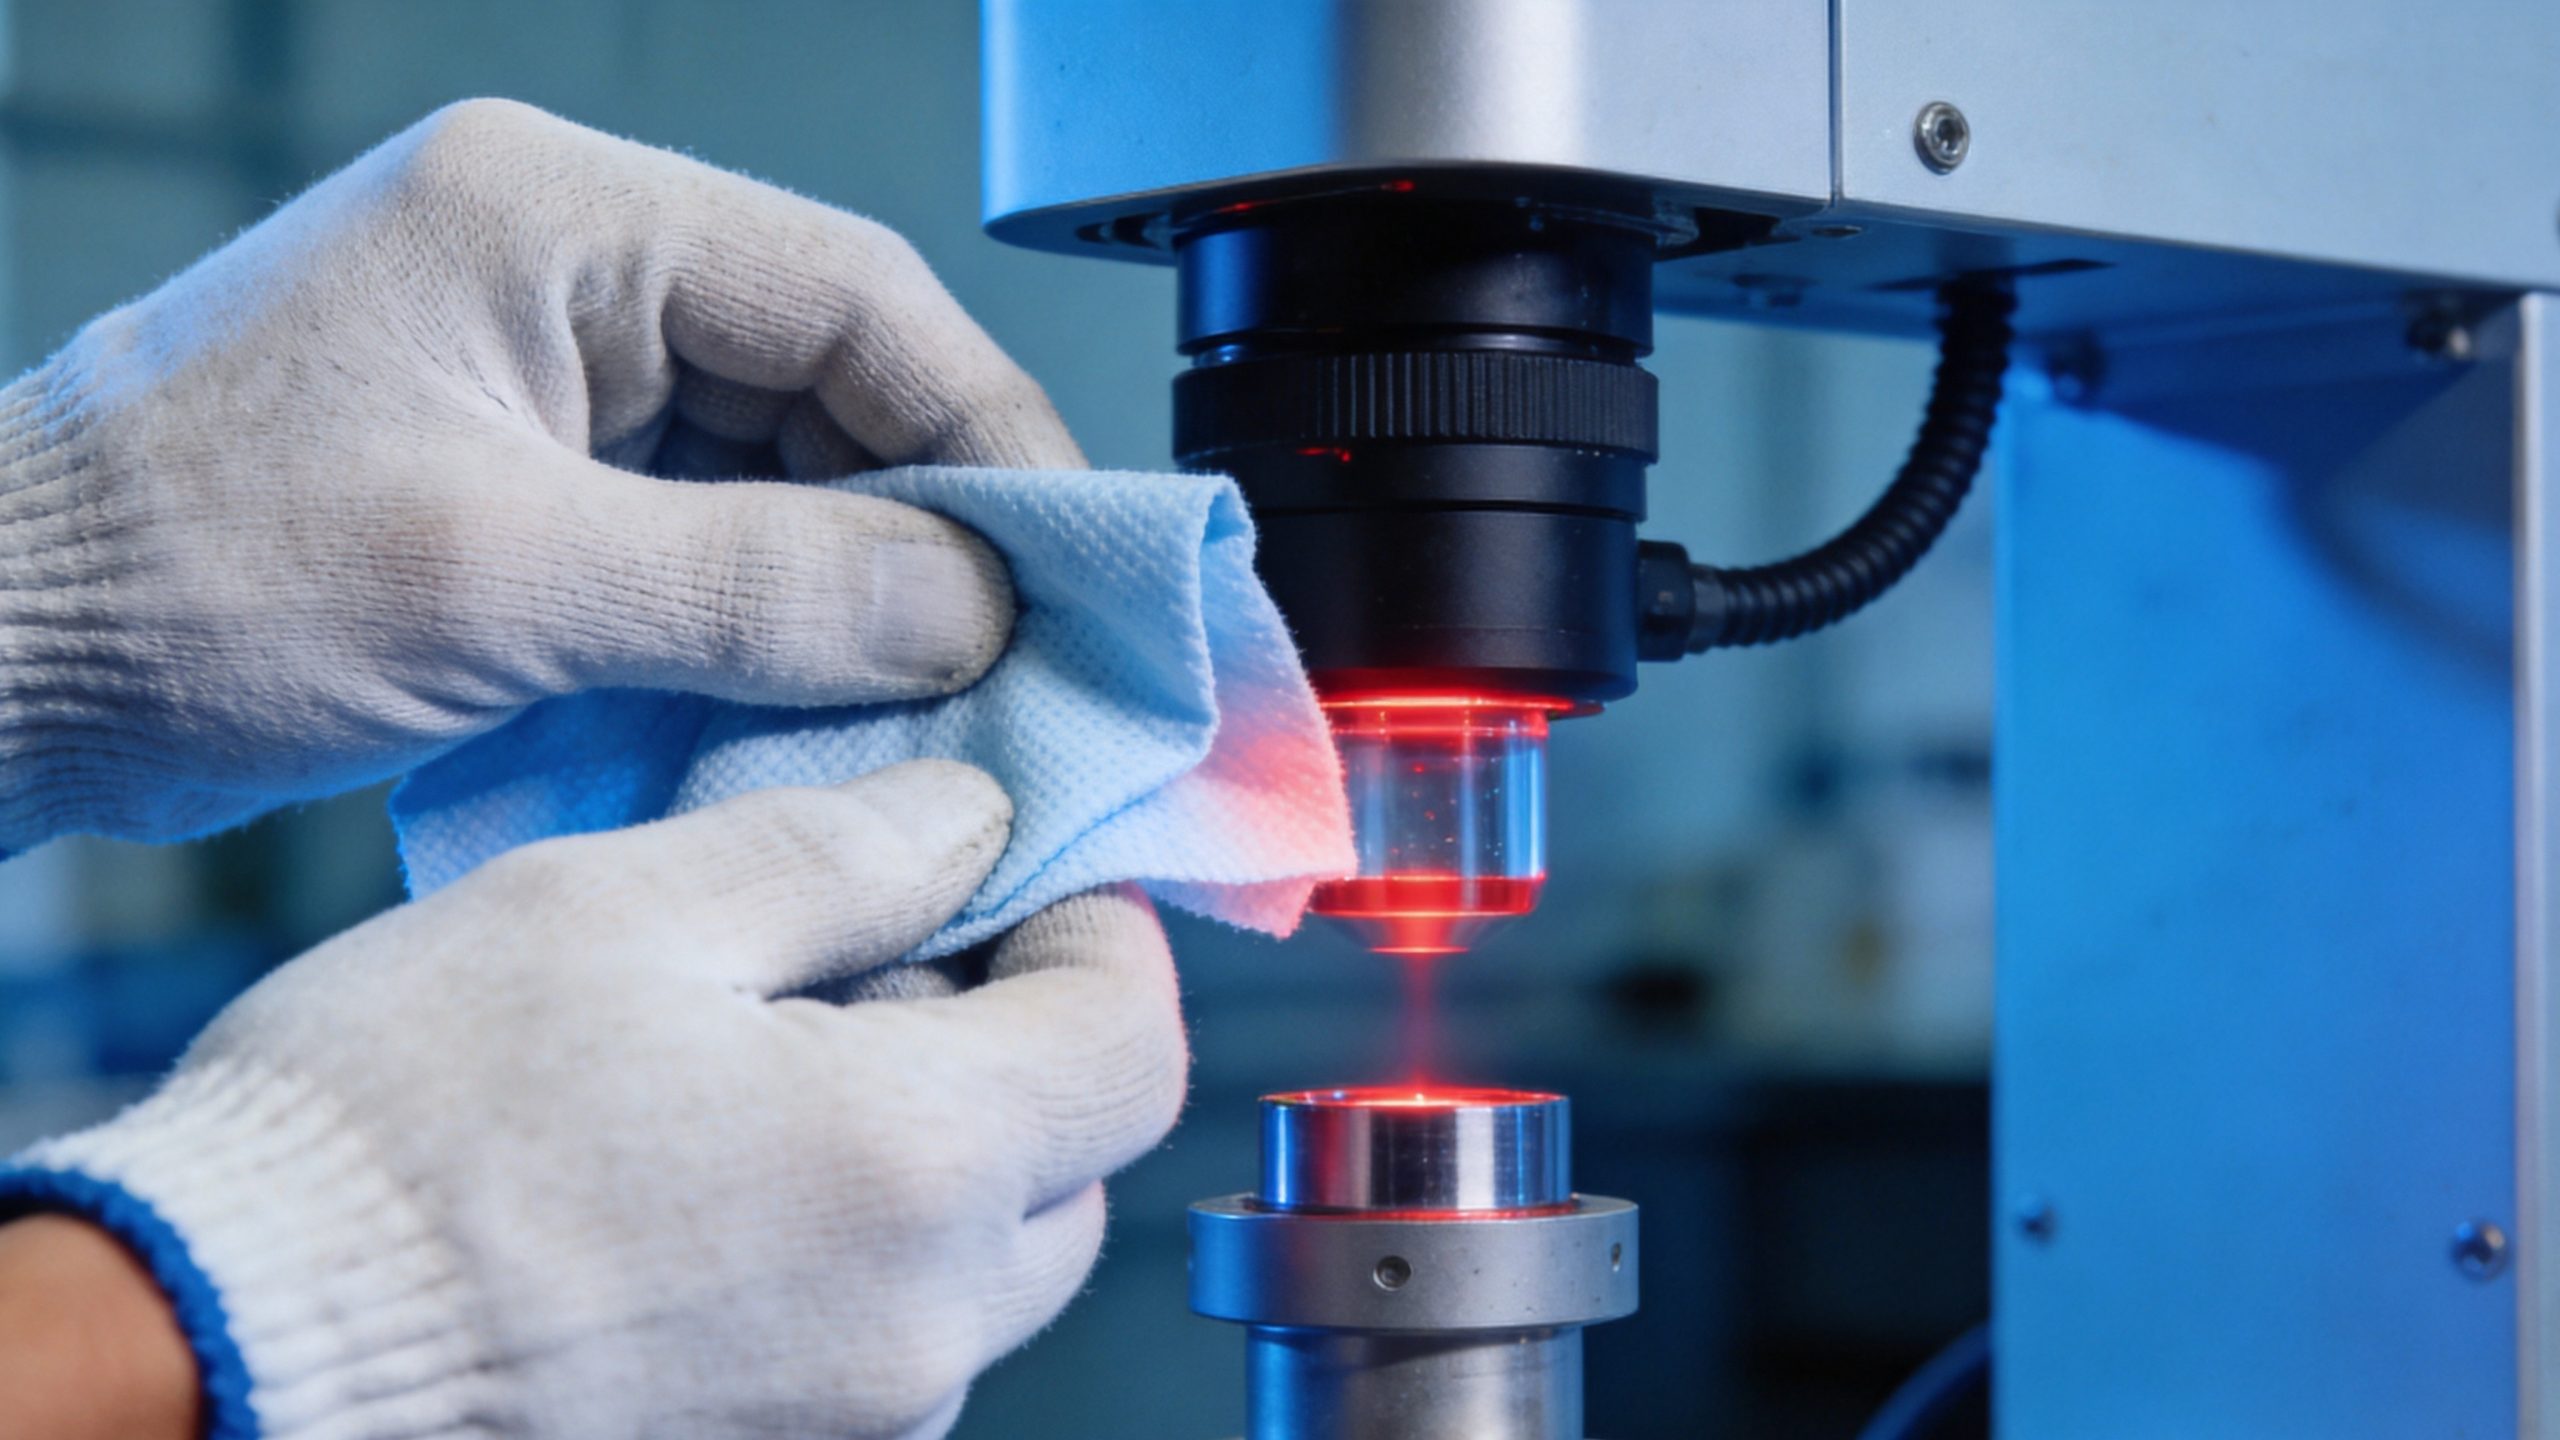
Why Maintenance Matters
Before we dive into the specifics, let’s cover why regular maintenance is worth the effort: For more on keeping your machine in top condition, see our Fiber Laser Cutting Machine Maintenance Guide. For more on keeping your machine in top condition, see our Fiber Laser Marking Machine Maintenance Guide.
1. Consistent Cleaning Quality
A dirty or misaligned laser produces weaker, less consistent cleaning results. Regular maintenance ensures the beam quality and power output stay at factory levels, so every cleaning job looks as good as the first.
2. Longer Machine Lifespan
With proper care, a quality fiber laser cleaning machine from a reputable manufacturer like Transon Laser can last 10+ years. Skipping maintenance can cut that lifespan in half or more.
3. Lower Operating Costs
Preventive maintenance is far cheaper than reactive repairs. Replacing a $50 protective lens is much less expensive than replacing a $2,000 laser source or galvo scanner damaged by contamination.
4. Less Downtime
Regular checks catch small issues before they become big problems. A few minutes of maintenance each day can prevent hours or days of production downtime.
5. Safety
A poorly maintained laser cleaning machine can be a safety hazard. Damaged optics, loose connections, or faulty interlocks increase the risk of laser exposure, electrical shock, or fire.
Maintenance Schedule Overview
Here’s a quick reference for what to do and when:
| Frequency | Tasks | Time Required |
|---|---|---|
| Daily | Visual inspection, lens check, air filter check, chiller level check | 5–10 minutes |
| Weekly | Lens cleaning, air filter cleaning, cable inspection, exterior cleaning | 20–30 minutes |
| Monthly | Alignment check, cooling system maintenance, electrical connection check, software update | 1–2 hours |
| Quarterly | Deep optical cleaning, fiber cable inspection, chiller filter replacement, ground connection test | 2–3 hours |
| Annually | Professional service, laser source power test, full system calibration, safety system check | 4–8 hours (by technician) |
Daily Maintenance (5–10 Minutes)
These quick checks take just a few minutes each day before starting work and can prevent most common problems.
1. Visual Inspection
- Check the machine exterior for any signs of damage, leaks, or unusual wear
- Inspect the laser output head / cleaning gun for physical damage
- Check all cables and connections for signs of fraying or damage
- Ensure emergency stop button is working properly
- Verify that safety interlocks are functioning
2. Protective Lens Check
- Inspect the protective lens (window) on the cleaning head for dirt, dust, or spatter
- If you see visible contamination, clean it immediately (see “How to Clean Optics” below)
- A dirty lens is the #1 cause of reduced cleaning power and can lead to permanent damage
3. Air Filter Check
- Check the air intake filter on the laser source cabinet
- If it looks visibly dusty, clean or replace it
- A clogged filter causes overheating and reduces laser source lifespan
4. Chiller / Cooling System Check
- Check the water level in the chiller (if water-cooled)
- Top up with distilled or deionized water if needed
- Check that the chiller temperature is set correctly (typically 20–25°C)
- Ensure the chiller is running and the flow rate looks normal
- For air-cooled machines, check that ventilation fans are working and vents are clear
5. Power On Test
- Turn on the machine and let it warm up for 5–10 minutes
- Check that all indicator lights are normal
- Do a test shot on a scrap piece to verify cleaning power and beam quality
- Listen for any unusual noises (grinding, buzzing, rattling)
Weekly Maintenance (20–30 Minutes)
1. Clean the Protective Lens
Even if it looks clean, give the protective lens a proper cleaning once a week:
1. Put on clean, lint-free gloves
2. Remove the lens carefully from the cleaning head
3. Blow off loose dust with clean compressed air (low pressure, < 2 bar)
4. Wipe gently with lens cleaning paper or a microfiber cloth dampened with isopropyl alcohol (99%+)
5. Wipe dry with a clean lens cloth
6. Inspect under bright light — if you still see spots, repeat
7. Reinstall carefully, making sure not to touch the lens surface with bare fingers
Important: Never use regular paper towels, tissues, or your shirt to clean laser optics — they will scratch the lens coating. Use only proper lens cleaning materials.
2. Clean or Replace Air Filters
- Remove air filters from the laser source cabinet and chiller
- Blow clean with compressed air (from the inside out)
- If heavily soiled, replace with new filters
- Clean filters = better cooling = longer laser source life
3. Inspect Cables and Connectors
- Check the fiber optic cable for any signs of damage, kinks, or excessive bending
- Ensure cable connectors are clean and securely fastened
- Check power cables for damage or loose connections
- Inspect the ground connection for tightness and corrosion
4. Clean the Machine Exterior
- Wipe down the cabinet, cleaning head, and work area
- Remove dust, dirt, and debris from vents and fans
- Keep the area around the machine clean — dust in the environment gets into the machine
5. Check Galvo Scanner Operation
- Test the galvo scanner by running a test pattern
- Verify that the scanning area is uniform and the beam is well-focused
- Listen for any unusual sounds from the scanner
Monthly Maintenance (1–2 Hours)
1. Check Laser Output Power
- Use a power meter to verify that the laser output is within specification
- If power has dropped significantly (more than 10–15%), investigate the cause
- Common causes: dirty optics, misalignment, aging laser source, fiber cable damage
2. Cooling System Maintenance
- For water-cooled machines:
- Check water quality — if it looks cloudy or has debris, drain and refill
- Clean the chiller’s dust filter
- Check hoses and connections for leaks
- Verify water flow rate and temperature stability
- For air-cooled machines:
- Clean all ventilation grilles and fan filters
- Verify all cooling fans are working properly
3. Electrical Connection Check
- Turn off and unplug the machine
- Check all electrical connections for tightness
- Look for signs of overheating (discolored wires, burnt smell)
- Verify ground connection is secure
- Check the power switch and emergency stop for proper operation
4. Software and Firmware Update
- Check for software updates from the manufacturer
- Update the control software and laser source firmware if newer versions are available
- Back up your machine settings before updating
- After updating, test all functions to ensure everything works correctly
5. Inspect the Cleaning Head
- Disassemble the cleaning head (following manufacturer instructions)
- Inspect all internal optics for dirt, damage, or coating degradation
- Clean or replace any damaged components
- Check the focus lens position and alignment
- Reassemble carefully, making sure all seals are properly seated
Quarterly Maintenance (2–3 Hours)
1. Deep Optical System Cleaning
- Clean all internal optics, not just the protective lens
- This may include collimating lenses, focusing lenses, mirrors, and beam combiners
- Follow the manufacturer’s procedure carefully — improper cleaning can damage expensive optics
- If you’re not comfortable doing this, schedule a professional service visit
2. Fiber Cable Inspection
- Carefully inspect the entire length of the fiber optic cable
- Look for kinks, crush marks, or damage to the protective jacket
- Check both fiber connectors for dirt or damage
- If the cable has been kinked sharply, have it tested for transmission loss
3. Replace Chiller Filters
- Replace the chiller’s inlet and outlet water filters
- If the chiller has a deionization filter, check and replace if needed
- Clean the chiller’s heat exchanger fins (if applicable)
- For water-cooled machines, consider replacing the water completely every 3–6 months
4. Ground Connection and Safety Test
- Test the machine’s ground connection with a multimeter
- Verify that all safety interlocks are working correctly
- Test the emergency stop button
- Check that laser safety warnings and labels are legible
- Ensure laser safety goggles are in good condition and the correct wavelength
5. Check Work Table / Fixtures
- If you have a work table or fixture system, check its condition
- Tighten any loose bolts or adjustment mechanisms
- Clean and lubricate moving parts as recommended by the manufacturer
- Verify alignment between the laser beam and work surface
Annual Professional Service (4–8 Hours)
While you can handle most routine maintenance yourself, we recommend having a professional technician service your machine at least once a year. This is especially important for machines under warranty — regular professional service may be required to keep the warranty valid.
What a professional service includes:
1. Laser source power test and calibration — verify output power, pulse parameters, and beam quality
2. Full optical system inspection and alignment — check all lenses, mirrors, and fiber connections
3. Galvo scanner calibration — ensure accurate scanning and positioning
4. Electrical system inspection — check all circuits, connectors, and safety systems
5. Cooling system service — flush and refill, replace filters, test performance
6. Software and firmware update — install the latest versions
7. Safety system check — verify all interlocks, emergency stops, and warning systems
8. Performance report — document current condition and any recommended repairs
Transon Laser customers receive comprehensive after-sales support including annual service recommendations, spare parts supply, and remote technical assistance. If you’re experiencing issues, their English-speaking support team can help diagnose and resolve most problems quickly.
Common Problems and Troubleshooting
Even with regular maintenance, you may encounter issues. Here are some common problems and how to fix them:
Problem 1: Weak Cleaning Power / Inconsistent Results
Most likely cause: Dirty protective lens
Solution:
1. Clean or replace the protective lens
2. If that doesn’t help, check other optics for contamination
3. Verify laser power with a power meter
4. Check that the focus distance is correct
Problem 2: Machine Overheating / Shuts Down
Most likely cause: Clogged air filters or cooling system issue
Solution:
1. Clean or replace air filters
2. Check chiller water level and temperature
3. Ensure the machine has adequate ventilation space
4. Clean dust from the laser source heat sinks
5. If the problem persists, contact technical support
Problem 3: Scanning Area is Distorted or Uneven
Most likely cause: Galvo scanner misalignment or dirty galvo mirrors
Solution:
1. Check and clean galvo mirrors (very carefully!)
2. Run scanner calibration from the software
3. If distortion continues, the galvo scanner may need professional service
Problem 4: Abnormal Noises from the Machine
Most likely cause: Loose components or fan issues
Solution:
1. Identify where the noise is coming from
2. Check for loose screws or panels
3. Check cooling fans for debris or bearing wear
4. If the noise is from the laser source or galvo, stop using the machine and contact support
Problem 5: Water Leak from Chiller or Connections
Most likely cause: Loose hose clamp or degraded seal
Solution:
1. Turn off and unplug the machine immediately
2. Identify the source of the leak
3. Tighten hose clamps or replace damaged seals
4. Dry all affected areas thoroughly before restarting
5. If water has gotten into the laser source or electrical components, do NOT turn on — contact support immediately
Problem 6: Software Errors or Connection Issues
Most likely cause: Software glitch, driver issue, or cable problem
Solution:
1. Restart the computer and machine
2. Check USB / Ethernet cable connections
3. Reinstall the software or drivers
4. Try a different computer to rule out PC issues
5. If the problem persists, contact technical support
How to Clean Optics Properly
Cleaning laser optics is one of the most important — and most delicate — maintenance tasks. Do it wrong and you can permanently damage expensive lenses.
What You’ll Need
- Clean, lint-free nitrile gloves
- Lens cleaning tissue or microfiber cloth (optical grade)
- Isopropyl alcohol (99%+ purity, anhydrous)
- Clean compressed air (filtered, oil-free, < 2 bar pressure)
- Lens tweezers (optional but recommended)
Step-by-Step Procedure
- Prepare the workspace — clean, dust-free area with good lighting
- Put on gloves — never touch optical surfaces with bare fingers
- Blow off loose dust — use compressed air at low pressure, hold at an angle
- Wipe the lens — fold lens tissue into a small pad, dampen with alcohol (not dripping)
- Wipe in one direction — gently wipe from one side to the other in a single, smooth motion
- Dry immediately — use a dry lens tissue to wipe off remaining alcohol
- Inspect — hold the lens up to a bright light and check for streaks or spots
- Repeat if needed — if not clean, use a fresh tissue and try again
- Reinstall carefully — don’t touch the clean surface, align properly
What NOT to Do
- ❌ Don’t use circular wiping motions — this can cause scratches
- ❌ Don’t use regular paper towels, tissues, or your shirt
- ❌ Don’t use tap water or low-purity alcohol
- ❌ Don’t blow on optics with your mouth — saliva will contaminate the surface
- ❌ Don’t scrub or apply heavy pressure
- ❌ Don’t reuse lens tissues — use a fresh one each time
Maintenance Tips to Extend Machine Lifespan
1. Keep a Maintenance Log
Record every maintenance task you perform — date, what was done, who did it, and any notes. This helps track the machine’s condition and is valuable for warranty claims or if you sell the machine later.
2. Use the Right Environment
- Keep the machine in a clean, dry, temperature-controlled room
- Avoid dusty environments — if that’s not possible, increase cleaning frequency
- Maintain ambient temperature between 15–30°C (59–86°F)
- Keep humidity below 70%
- Provide adequate ventilation space around the machine
3. Use Quality Consumables
- Use only high-quality protective lenses from the manufacturer or a trusted supplier
- Use distilled or deionized water in the chiller — never tap water
- Replace filters on schedule, not just when they look dirty
- Cheap replacement parts can cause expensive damage
4. Train Your Operators
- Make sure everyone who uses the machine knows basic maintenance procedures
- Teach them how to perform the daily checks
- Ensure they know how to recognize warning signs and when to stop using the machine
- A well-trained operator is your first line of defense against damage
5. Don’t Ignore Warning Signs
If you notice any of these, stop using the machine and investigate:
– Significant drop in cleaning power
– Unusual noises or smells
– Error messages or warning lights
– Visible damage to cables or connectors
– Water leaks
– Excessive vibration
Catching a problem early can save you thousands of dollars in repairs.
6. Have Spare Parts on Hand
Keep a small inventory of commonly replaced parts:
– Protective lenses (2–3 spares)
– Air filters
– O-rings and seals
– Fuses
This way, if something fails, you can fix it immediately instead of waiting days for parts to arrive.
Warranty and Support
Most laser cleaning machines come with a manufacturer’s warranty. To keep your warranty valid:
– Follow the recommended maintenance schedule
– Use only genuine or approved replacement parts
– Don’t attempt unauthorized repairs
– Keep maintenance records
– Register your machine with the manufacturer
Transon Laser offers a standard 2-year warranty on the laser source and 1-year warranty on the complete machine, with extended warranty options available. Their after-sales team provides remote technical support, spare parts supply, and on-site service when needed.
Related Reading: For detailed guidance on removing paint, powder coating, and other coatings with laser — including speed data and cost comparisons — see our complete guide to laser paint removal.
Final Thoughts
Laser cleaning machines are significant investments, and proper maintenance is essential to get the most value out of yours. By following a regular maintenance schedule — just a few minutes each day, plus more thorough checks on a weekly, monthly, and quarterly basis — you can ensure years of reliable, high-performance operation.
Remember:
– Daily: Quick visual checks and lens inspection (5–10 min)
– Weekly: Lens cleaning, filter cleaning, cable inspection (20–30 min)
– Monthly: Power check, cooling system service, electrical check (1–2 hrs)
– Quarterly: Deep optics cleaning, fiber inspection, safety test (2–3 hrs)
– Annually: Professional service and full calibration (4–8 hrs)
If you’re looking for a laser cleaning machine with solid build quality and excellent after-sales support, Transon Laser offers a range of models from 1000W to 3000W, backed by responsive English-language technical support and a comprehensive warranty.
Further Reading:
– How Much Does a Laser Cleaning Machine Cost?
– Laser Cleaning Machine Parameters: Complete Reference
– Laser Cleaning vs Sandblasting vs Chemical Cleaning: Full Comparison
– How Does a Laser Cleaning Machine Work?
– 10 Industrial Applications of Laser Cleaning
– Laser Rust Removal: 7 Industrial Applications
Related Reading: For a comprehensive guide to removing rust with laser technology, see our complete laser rust removal guide with speed charts, cost comparisons, and power selection advice.
For guidance on selecting the right equipment for your maintenance needs, see our laser cleaning machine buyer’s guide—it covers power levels, machine types, and total cost of ownership in detail.
If you are still evaluating which machine to buy, our laser cleaning machine parameters guide covers every major specification—power, pulse energy, scan width, beam quality, dust extraction—and how to match them to your production requirements.