Why Fiber Laser Welding Machine Maintenance Matters
A fiber laser welding machine represents a significant capital investment for any metal fabrication business. When properly maintained, these machines deliver consistent weld quality, high productivity, and a long service life of 10 years or more. Neglect maintenance, however, and you’ll see declining weld quality, more downtime, and potentially expensive component failures that could have been prevented.
The good news is that most fiber laser welding machine maintenance tasks are straightforward and don’t require specialized engineering training. By following a structured maintenance schedule and addressing small issues before they become big problems, you can maximize your machine’s uptime and return on investment.
In this guide, we’ll walk you through everything you need to know about fiber laser welding machine maintenance — from daily checks to annual servicing, common problems to troubleshooting tips. Whether you operate a handheld laser welding station or an automated robotic welding cell, these principles apply.
Understanding Your Fiber Laser Welding Machine
Before diving into maintenance procedures, let’s quickly review the key components of a fiber laser welding machine that require regular attention:
- Laser source: The fiber laser generator that produces the laser beam. This is the heart of the machine and typically requires the least maintenance, but it’s also the most expensive component to replace.
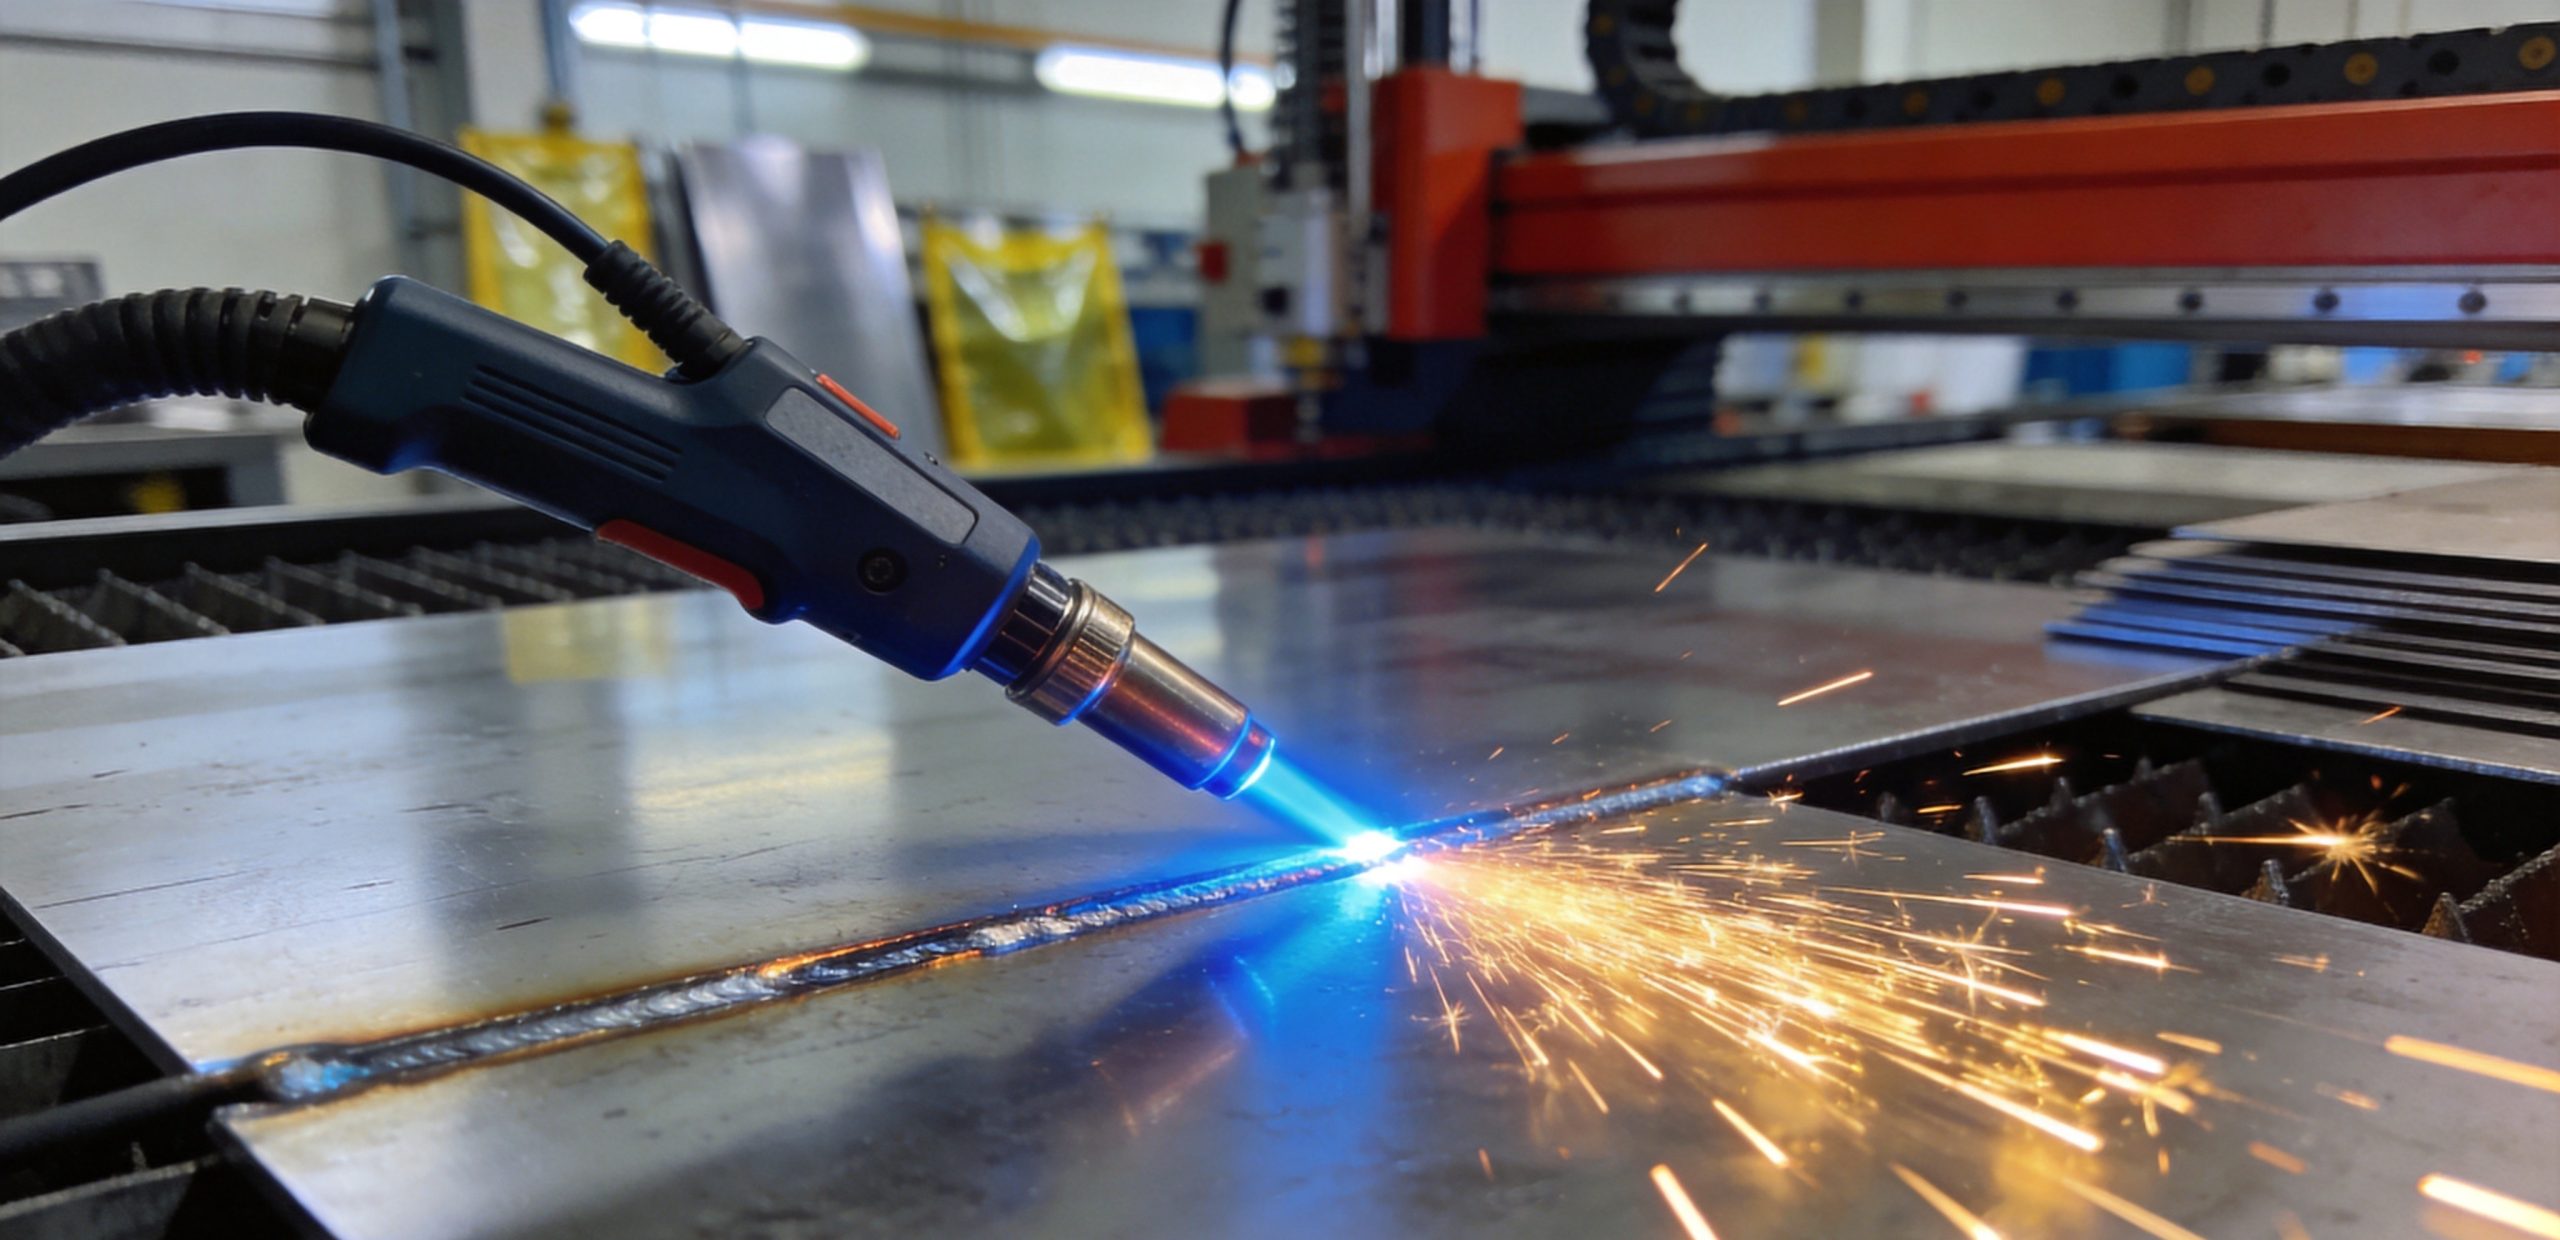
- Welding head: The handheld or robotic head that delivers the laser beam to the workpiece. It contains optics, a gas nozzle, and sometimes a wire feeder.
- Optical fiber: The delivery cable that transmits the laser from the source to the welding head. Handle with extreme care — bending it beyond the minimum radius can permanently damage it.
- Chiller: The cooling system that maintains precise temperature for the laser source and optics. Overheating is one of the most common causes of laser failure.
- Wire feeder (if equipped): Delivers filler wire to the weld pool for applications requiring added material.
- Gas system: Supplies shielding gas (typically argon or argon/CO2 mix) to protect the weld pool from atmospheric contamination.
- Control system: The PLC, touchscreen interface, and software that control machine parameters and operation.
Each of these components has its own maintenance requirements. We’ll cover them all in the sections below.
Daily Maintenance Checklist
These tasks should be performed at the start of each shift or at the beginning of each workday. They take only 10–15 minutes and can prevent most common problems.
| Task | Frequency | What to Check |
|---|---|---|
| Visual inspection of welding head | Daily | Cleanliness of protective window, nozzle condition, fiber cable strain relief |
| Check chiller level and temperature | Daily | Water level in reservoir, setpoint temperature, flow rate |
| Inspect gas supply | Daily | Shielding gas pressure, hose connections, no leaks |
| Clean work area | Daily | Remove spatter, debris, and dust from machine and surrounding area |
| Verify safety features | Daily | Emergency stop buttons, interlocks, laser safety curtains |
| Check wire feeder | Daily (if used) | Wire tension, guide tubes, drive rolls, liner condition |
Cleaning the Protective Window
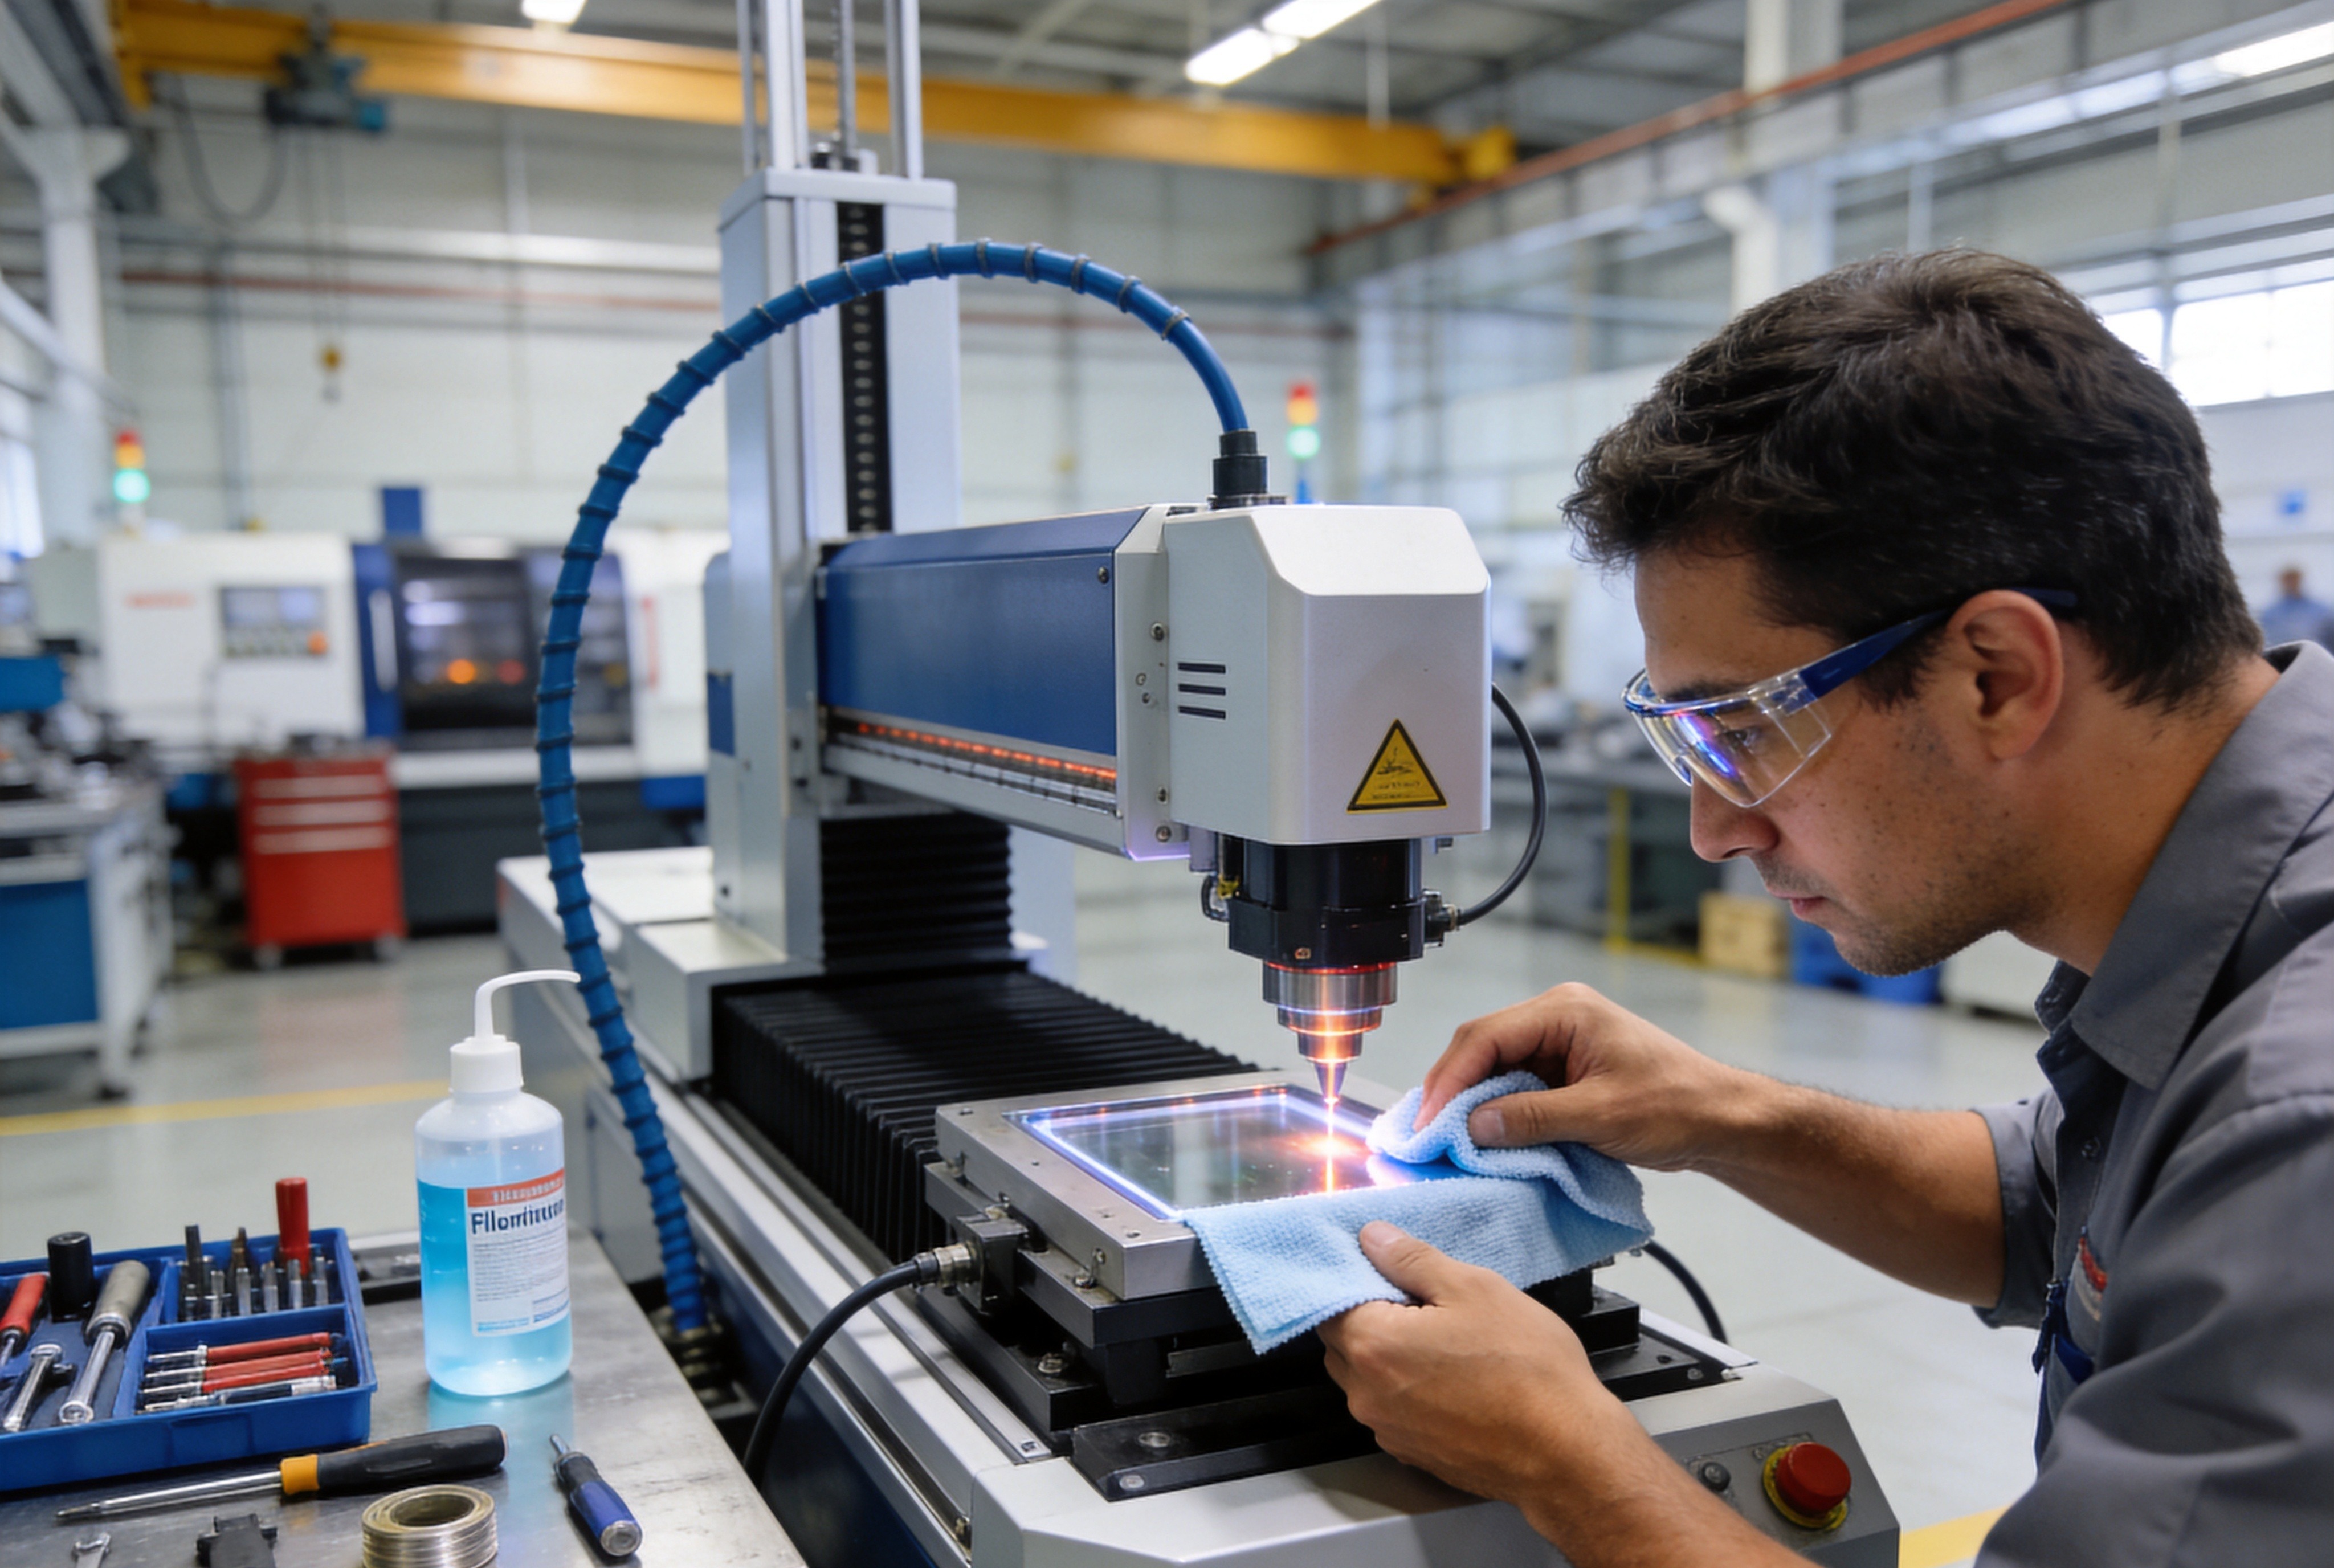
The protective window (also called the cover slide) is the most frequently replaced consumable in a laser welding head. It protects the internal optics from spatter, fumes, and debris. A dirty or damaged protective window will absorb laser energy, causing overheating and reduced weld quality.
To clean or replace the protective window:
- Power off the machine and follow lockout/tagout procedures.
- Remove the protective window cartridge from the welding head.
- Inspect the window under bright light for spatter spots, cracks, or coating damage.
- If lightly soiled, clean with isopropyl alcohol (99%+ purity) and lint-free optical tissue. Wipe in one direction only — do not rub in circles.
- If heavily soiled, cracked, or pitted, replace with a new protective window of the same specification.
- Reinstall the cartridge, making sure the O-ring seal is properly seated.
Pro tip: Always keep spare protective windows on hand. Running with a damaged window can cause expensive damage to internal optics like the collimator or focusing lens. For Transon laser welding machines, we recommend keeping at least 5–10 spares in inventory at all times.
Weekly Maintenance Tasks
These tasks take a bit more time but are essential for preventing performance degradation over time.
1. Clean the Welding Head Nozzle
Spatter buildup on the gas nozzle can disrupt the shielding gas flow pattern, leading to porosity and poor weld quality. Every week:
- Remove the nozzle and soak it in a suitable cleaning solution (or use a brass wire brush for heavy buildup).
- Inspect the nozzle bore for eccentricity or damage — replace if worn out-of-round.
- Check the O-ring seal between the nozzle and head body.
- Reinstall and torque to the manufacturer’s specification (usually hand-tight plus a quarter turn).
2. Inspect the Fiber Optic Cable
The fiber optic delivery cable is one of the most expensive single components in your machine. A damaged fiber can cost thousands of dollars to replace. Every week, carefully inspect the entire length of the cable:
- Check for kinks, sharp bends, or crush damage.
- Verify the minimum bend radius is maintained everywhere along the cable path (typically 150–200mm, check your manual).
- Inspect cable connectors at both ends for dirt or damage.
- Ensure cable strain reliefs are secure and not under tension.
- Check cable management system (cable track, drag chain) for smooth operation.
3. Check Chiller Filter and Water Quality
The chiller’s job is to maintain precise temperature control. A clogged filter or degraded coolant reduces cooling efficiency and can lead to laser overheating. Weekly:
- Check the chiller’s inlet/outlet pressure gauges — a rising differential indicates a clogging filter.
- Inspect the coolant level and clarity. Cloudy or discolored water needs changing.
- Clean or replace the water filter cartridge as needed.
- Check for any water leaks around hose connections.
4. Lubricate Moving Parts
If your machine has robotic axes, linear guides, or other moving components:
- Apply the manufacturer-recommended grease to linear guide rails.
- Check ball screw lubrication points.
- Verify that all cable tracks and drag chains move freely.
Monthly Maintenance Procedures
1. Deep Clean the Optical Path
While the protective window catches most debris, some contaminants can still make their way to the internal optics over time. Every month (or more frequently in dusty environments):
- Remove and inspect the collimating lens and focusing lens (if accessible).
- Clean with optical-grade isopropyl alcohol and lint-free swabs.
- Inspect O-rings and seals for degradation.
- Reassemble carefully, ensuring proper alignment.
Important: Only perform internal optical cleaning if you’ve been trained to do so. Improper handling can scratch expensive optics or misalign the beam path. When in doubt, contact your machine supplier for service. For Transon customers, our service team can perform this maintenance on-site or remotely guide your technicians.
2. Inspect Electrical Connections
Vibration and thermal cycling can loosen electrical connections over time. Monthly:
- Power off and lock out the machine.
- Inspect main power connections for signs of overheating (discoloration, burnt smell).
- Check ground connections for tightness.
- Inspect control panel connectors and cable glands.
- Verify that all cooling fans are operating properly and their vents are clear.
3. Calibrate Laser Power Output
Laser power can drift over time as the diode array ages. Verifying actual output power against the set power ensures consistent weld quality:
- Use a calibrated laser power meter to measure output power at several setpoints (e.g., 50%, 75%, 100%).
- Compare readings to the machine’s displayed power.
- If deviation exceeds 5%, recalibrate or contact your supplier for service.
- Record readings in your maintenance log for trend tracking.
4. Check Wire Feeder System (If Equipped)
For machines with wire feed capability:
- Inspect drive rolls for wear and replace if grooved.
- Check wire guide tubes for kinks or internal wear.
- Clean or replace the wire liner.
- Verify wire feed speed calibration using a tachometer or measured length test.
- Check tension settings and adjust if needed.
Quarterly and Annual Maintenance
Quarterly
- Replace chiller coolant: Drain, flush, and refill with fresh deionized water and the manufacturer-recommended corrosion inhibitor. Never use tap water — minerals will deposit on internal surfaces and reduce cooling efficiency.
- Inspect laser source fans and filters: Clean or replace air filters on the laser source cabinet to ensure proper ventilation.
- Check beam alignment: Verify that the laser beam is centered in the nozzle and properly focused. Misalignment causes uneven welds and can damage the nozzle.
- Test safety interlocks: Verify that all door interlocks, emergency stops, and other safety systems function correctly.
Annually
- Full optical inspection: Have a qualified technician inspect all optical components for damage or aging. This includes the laser source output window, fiber connectors, collimator, and focus lens.
- Laser source performance test: Run a full diagnostic on the laser source to check diode health, power stability, and beam quality.
- Complete machine calibration: Recalibrate all axes, wire feed speed, gas flow rates, and laser parameters.
- Replace wear parts: Replace components that have reached their expected service life, such as O-rings, seals, and filters.
- Update software/firmware: Install any available software updates for the control system.
Common Problems and Troubleshooting
Even with regular maintenance, issues can arise. Here are some of the most common fiber laser welding machine problems and how to address them:
1. Porosity in Welds
Possible causes:
- Insufficient or incorrect shielding gas flow
- Dirty or damaged protective window
- Contaminated base material (oil, rust, paint)
- Nozzle too far from workpiece
- Wrong gas mixture for the material
Solutions: Check gas flow rate and pressure. Clean or replace the protective window. Ensure base material is clean. Verify nozzle-to-work distance (typically 10–15mm for handheld machines).
2. Inconsistent Weld Depth
Possible causes:
- Dirty optics reducing effective laser power
- Laser power drift
- Inconsistent travel speed
- Focus position drift
- Material thickness variation
Solutions: Clean or replace protective window first (most common cause). Calibrate laser power. Verify focus position. Ensure consistent travel speed and technique.
3. Laser Won’t Fire
Possible causes:
- Safety interlock not satisfied (door open, e-stop engaged)
- Chiller interlock — temperature or flow fault
- Fiber cable not properly connected
- Laser source fault or over-temperature
- Control system error
Solutions: Check all safety interlocks and reset if needed. Verify chiller is running and at the correct temperature. Check fiber cable connections. Restart the control system. If the problem persists, contact your supplier’s service team.
4. Spatter Buildup on Nozzle
Possible causes:
- Nozzle too close to workpiece
- Incorrect gas flow rate
- Wrong focus position
- Material with high spatter tendency (e.g., galvanized steel)
Solutions: Increase standoff distance slightly. Adjust gas flow. Check focus position. Consider using anti-spatter spray on the nozzle (compatible with laser welding).
5. Water Leak from Chiller or Laser
Possible causes:
- Loose hose clamp or fitting
- Deteriorated O-ring or seal
- Cracked manifold or connector
- Condensation due to low setpoint temperature in humid environments
Solutions: Shut down immediately if you see water leaking near the laser source. Tighten fittings. Replace damaged hoses or seals. If condensation is the issue, raise the chiller setpoint or use a dehumidifier. Never operate a laser welding machine with active water leaks — water damage to the laser source can be catastrophic.
Maintenance Best Practices
Keep a Maintenance Log
Document every maintenance task, part replacement, and repair. A good maintenance log should include:
- Date and time of service
- Who performed the work
- What was done (parts replaced, adjustments made)
- Laser power calibration readings
- Any anomalies or issues observed
- Next scheduled maintenance date
This log is invaluable for troubleshooting, warranty claims, and tracking the total cost of ownership of your machine.
Use Genuine Replacement Parts
While generic consumables may be cheaper, they can cause problems down the road. Low-quality protective windows, for example, may have inferior coatings that absorb more laser energy, leading to overheating and shorter life. They can also damage more expensive optics if they fail catastrophically.
Always use genuine replacement parts from your machine manufacturer or an authorized distributor. For Transon laser welding machines, all spare parts are designed and tested to work with our equipment, ensuring consistent performance and reliability.
Train Your Operators
The best maintenance program in the world won’t help if your operators don’t follow basic best practices. Make sure every operator is trained on:
- Proper machine operation and parameter settings
- Daily inspection procedures
- How to recognize early warning signs of problems
- When to call for service vs. attempting self-repair
- Laser safety procedures and personal protective equipment requirements
Establish a Service Contract
For critical production machines, consider a service contract with your supplier. This typically includes:
- Scheduled preventive maintenance visits
- Priority response for breakdowns
- Discounted parts pricing
- Software updates
- Technical support hotline
The peace of mind and reduced downtime often justify the cost, especially for machines running multiple shifts per day.
How Transon Supports Your Maintenance Needs
At Transon Laser, we design our fiber laser welding machines for ease of maintenance and long service life. Our TS-FW series handheld laser welders and automated welding systems come with:
- Modular design: Components are designed for quick access and replacement, minimizing downtime.
- Clear maintenance indicators: The control panel shows alerts when consumables need replacing or service is due.
- Comprehensive manual: Detailed maintenance procedures with photos and step-by-step instructions.
- Video tutorials: Visual guides for common maintenance tasks, accessible through our customer portal.
- Remote diagnostics: Many issues can be diagnosed remotely by our service team, often resolving problems without an on-site visit.
- Global service network: With customers in over 50 countries, we have service partners and spare parts warehouses strategically located for fast support.
We also offer optional extended warranty packages and service contracts tailored to your usage level. Whether you run one shift or three, we have a support plan that fits your needs.
Frequently Asked Questions
How often should I replace the protective window?
It depends on your application and environment. In a clean, low-spatter application, a protective window might last 2–4 weeks. In heavy production with lots of spatter (e.g., welding galvanized steel), you might need to replace it daily. The key is to inspect it regularly and replace it at the first sign of damage or heavy contamination. Running with a bad window damages more expensive optics.
What’s the expected lifespan of a fiber laser source?
Quality fiber laser sources from reputable manufacturers (like those used in Transon machines) typically have a rated lifespan of 100,000 hours or more. With proper cooling and maintenance, many machines last 10+ years before the laser source needs replacement or refurbishment. Actual lifespan depends on duty cycle, operating conditions, and maintenance quality.
Can I use tap water in the chiller?
Absolutely not. Tap water contains minerals that will deposit on internal cooling surfaces, reducing heat transfer efficiency and potentially causing corrosion. Always use deionized (DI) water or distilled water with the manufacturer-recommended corrosion inhibitor. Change the coolant quarterly or as specified in your manual.
How do I know if my fiber cable is damaged?
Signs of fiber cable damage include: sudden drop in laser power, visible kinks or crush marks on the cable jacket, arcing or sparking near connectors, and unusual burning smells. If you suspect fiber damage, stop using the machine immediately and contact your supplier. Never attempt to repair a fiber optic cable yourself — it requires specialized equipment and cleanroom conditions.
Should I perform maintenance myself or hire a service technician?
Daily and weekly maintenance tasks are designed to be operator-performed. Monthly tasks like optical cleaning and power calibration can be done by in-house technicians who have received proper training. Annual major servicing and complex repairs should be handled by factory-trained service personnel. When in doubt, contact your supplier — attempting a repair you’re not qualified for can cause more damage and void your warranty.
Conclusion
Regular fiber laser welding machine maintenance is the single most important factor in maximizing your machine’s uptime, weld quality, and service life. By following a structured maintenance program — daily checks, weekly servicing, monthly inspections, and annual overhauls — you can prevent most problems before they occur and keep your machine running at peak performance for years.
Remember, the cost of preventive maintenance is almost always lower than the cost of unexpected downtime and emergency repairs. A few minutes a day can save you hours of lost production and thousands of dollars in repair bills.
If you have questions about maintaining your specific laser welding machine, or if you’re looking to upgrade to a more reliable, easier-to-maintain system, contact the Transon Laser team today. Our engineers are always happy to help.
For more maintenance guides for other types of laser equipment, check out our related articles:
- Fiber Laser Cutting Machine Maintenance Guide
- Laser Cleaning Machine Maintenance Guide
- Fiber Laser Marking Machine Maintenance Guide
For guidance on selecting the right welding equipment for your shop, see our laser welding machine buyer’s guide—it covers power levels, machine configurations, and what to ask suppliers before you buy.
If you are still evaluating which machine to buy, our laser welding machine parameters guide covers every major specification—power, wobble, wire feeder, beam quality, gas system—and how to match them to your production requirements.