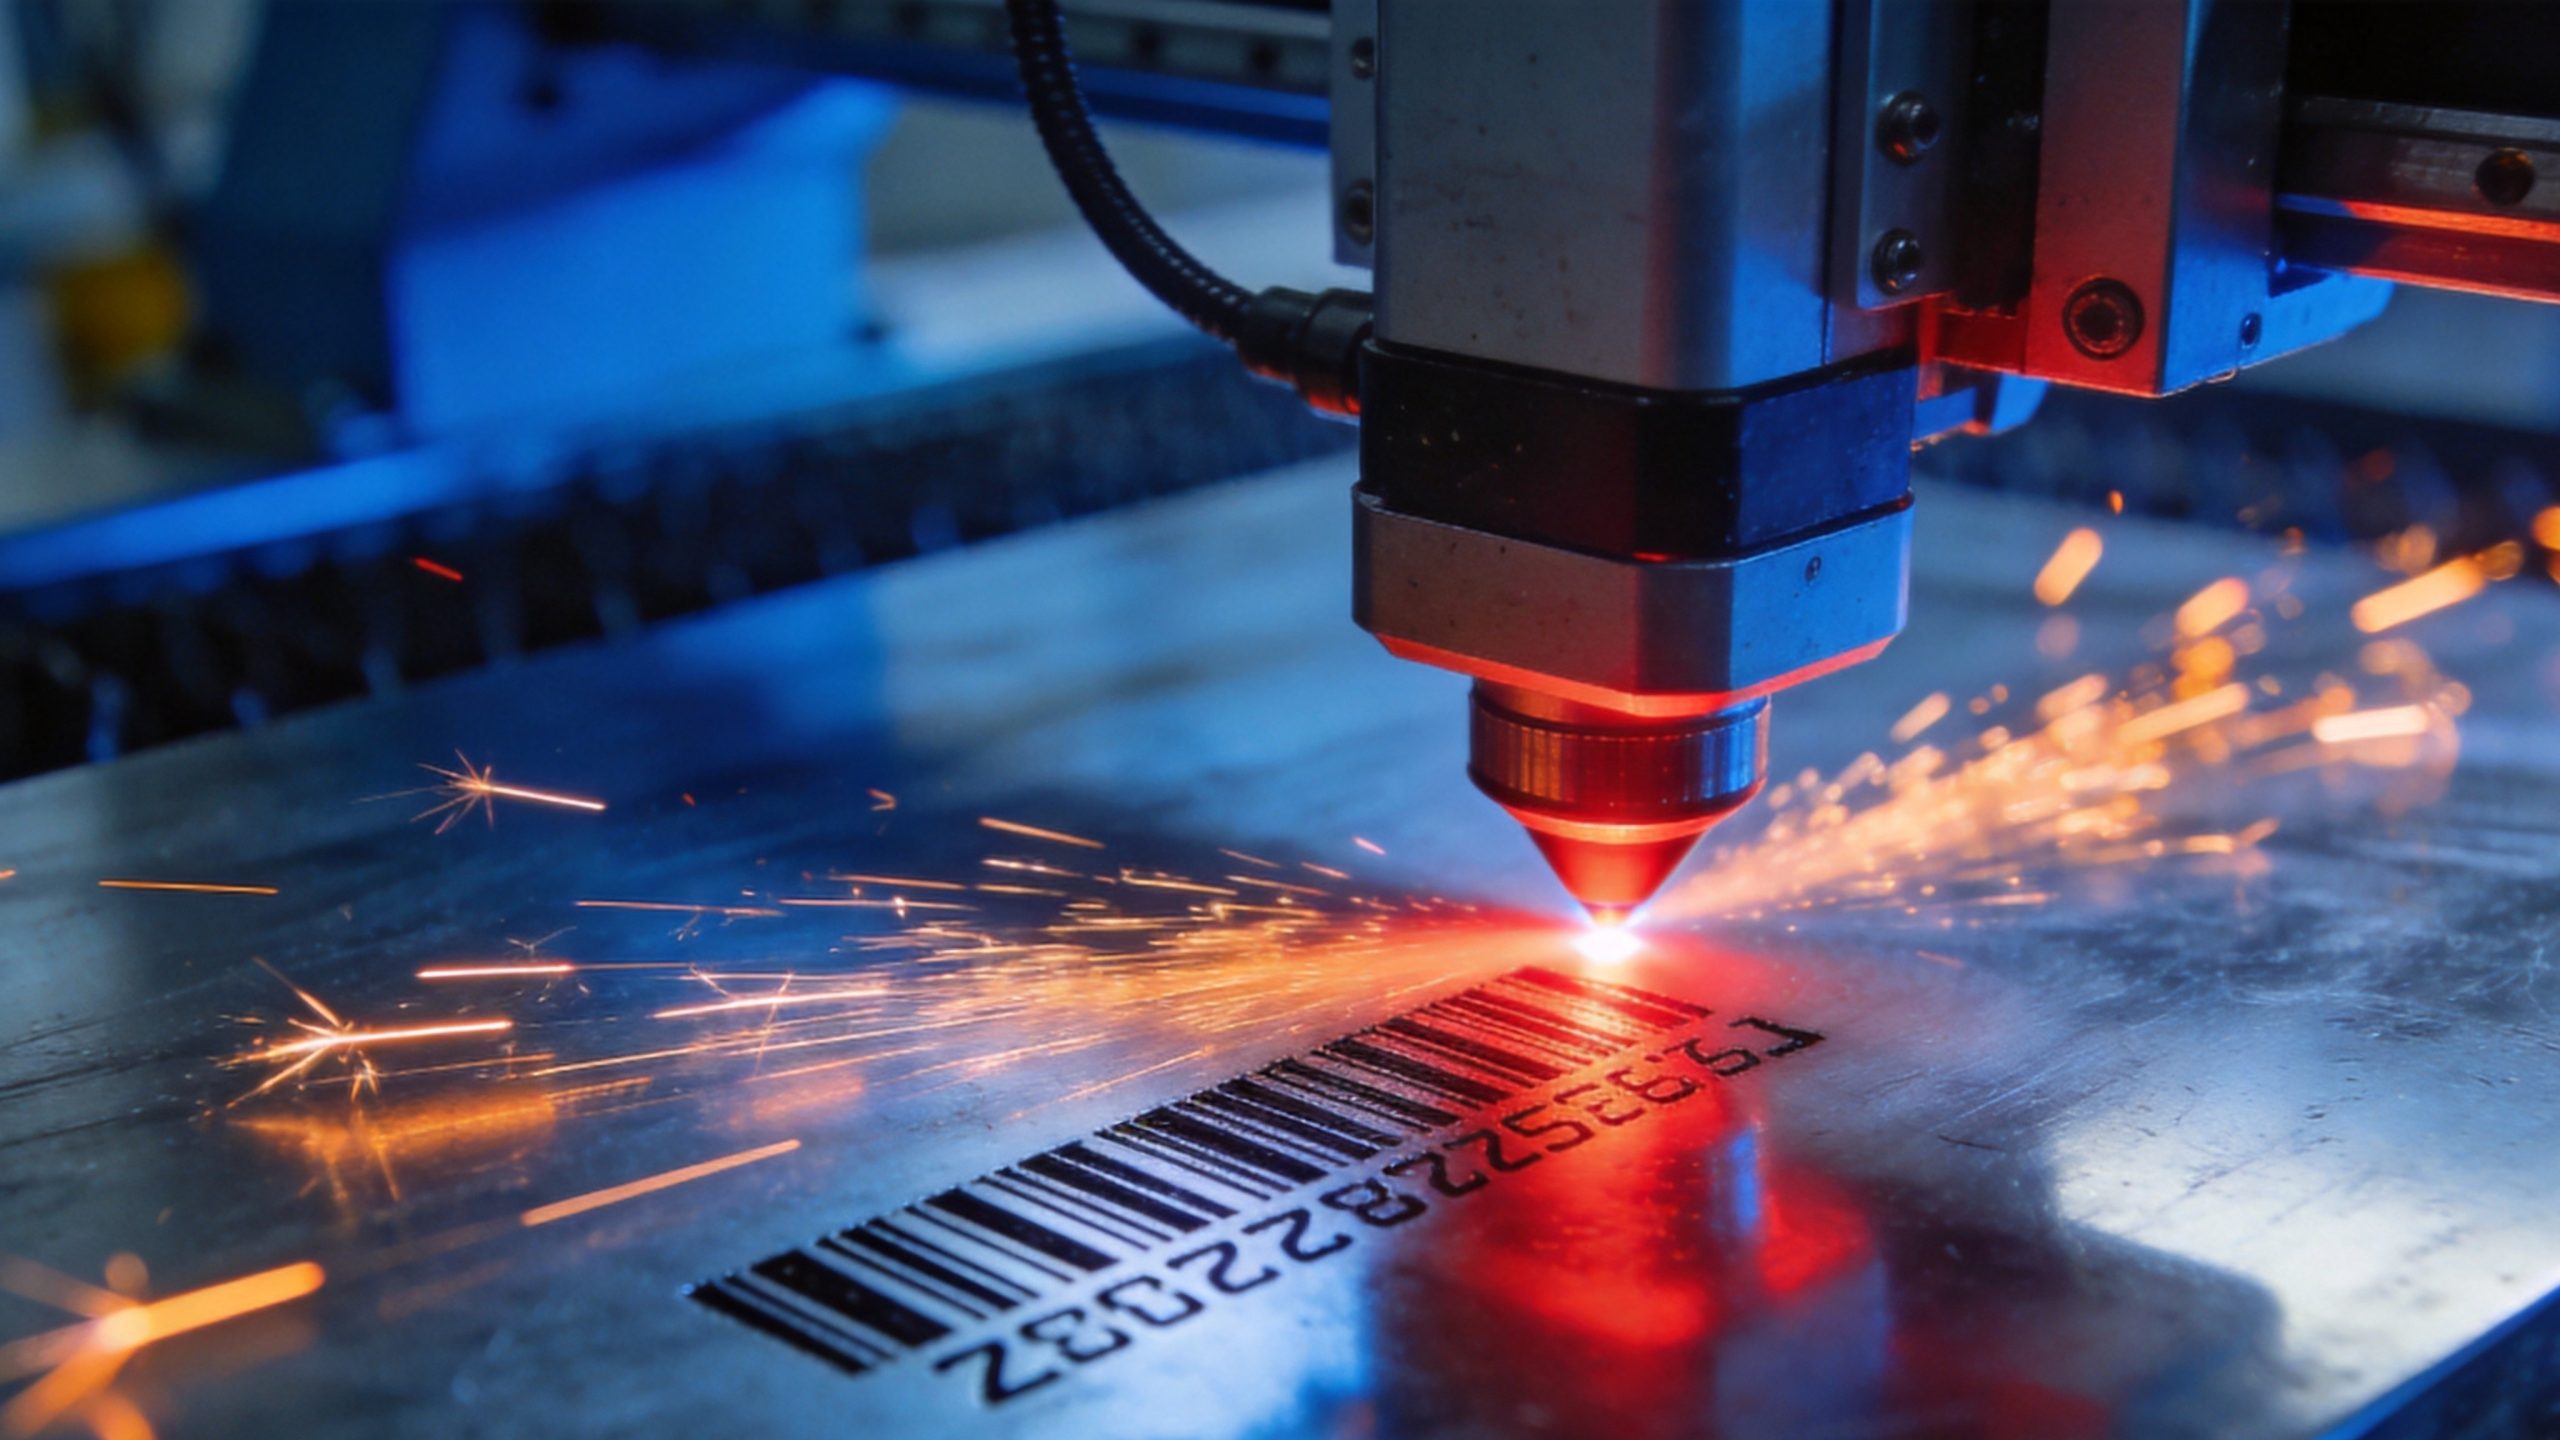
Metal marking is one of the most common and important applications of laser technology in manufacturing. From serial numbers and barcodes to logos and decorative patterns, laser marking delivers permanent, high-precision marks on virtually any metal — without contact, without consumables, and at high speed. For more on keeping your machine in top condition, see our Fiber Laser Marking Machine Maintenance Guide.
But not all metals mark the same way. Steel turns dark with annealing. Aluminum can be marked white, black, or etched depending on the parameters. Copper and gold are highly reflective and require special approaches. Getting the right result on the right material means understanding how lasers interact with different metals.
In this complete guide, we’ll cover everything you need to know about laser marking on metal: how it works, what marking types are available, how different metals respond, real-world applications, and how to choose the right machine for your needs.
How Laser Marking Works on Metal
Laser marking uses a focused laser beam to modify the surface of a metal part. The laser energy is absorbed by the metal, causing a controlled change at the surface level. There are several different mechanisms, depending on the laser parameters and the desired result:
1. Laser Annealing (Dark Marking)
The laser heats the metal surface to a temperature below the melting point, causing oxidation (similar to the heat tint on welded stainless steel). This produces a dark, smooth mark without removing any material. Annealing is the most common marking method for stainless steel and is widely used in medical, food, and aerospace applications where surface integrity must be preserved.
2. Laser Engraving (Material Removal)
The laser vaporizes or melts the top layer of metal, creating a recessed mark. This produces a deep, permanent mark that’s tactile and highly durable. Engraving is used for applications where the mark must withstand heavy wear, such as tooling, dies, and industrial parts.
3. Laser Etching (Shallow Material Removal)
Similar to engraving but with very shallow material removal (typically 5–20μm). Etching produces a visible mark with minimal depth, often used for barcodes, QR codes, and serial numbers where readability is important but deep engraving isn’t needed.
4. Laser Ablation (Coating Removal)
The laser removes a surface coating (paint, anodizing, plating) to reveal the underlying metal. This is commonly used on anodized aluminum, painted metals, and plated surfaces — the laser removes the coating in precise patterns, exposing the base metal underneath.
5. Foaming / White Marking
The laser melts the metal surface, and as it re-solidifies, it creates a porous, oxide-rich layer that appears white or light-colored. This technique is often used on aluminum and some steels to create high-contrast white marks.
Key point: The same laser machine can produce all these marking types — it’s just a matter of adjusting the power, speed, pulse frequency, and focus settings. A good fiber laser marking machine gives you the flexibility to switch between marking styles for different materials and applications.
What Metals Can You Laser Mark?
Fiber laser marking machines work on almost all metals. Here’s how the most common metals respond:
Stainless Steel
Carbon Steel / Mild Steel
Aluminum
Brass
Copper
Titanium
Gold and Silver
Galvanized Steel
Laser Marking Types for Metal: Detailed Comparison
| Marking Type | How It Works | Depth | Surface Integrity | Durability | Typical Applications |
|---|---|---|---|---|---|
| Annealing | Surface heating causes oxidation | 0μm (no material removed) | Excellent — no damage | Very good | Medical devices, aerospace, food equipment |
| Etching | Shallow material vaporization | 5–20μm | Good — minimal material loss | Excellent | Barcodes, serial numbers, logos |
| Engraving | Deep material vaporization | 20–100μm+ | Material is removed | Best (very wear-resistant) | Tools, dies, mold inserts, heavy-use parts |
| Ablation | Removes surface coating | Coating thickness only | Base metal unaffected | Good (depends on coating) | Anodized aluminum, painted parts, plated surfaces |
| White Marking | Surface melting and re-solidification | 5–15μm | Good — surface is modified | Good | Aluminum parts, electronics enclosures |
| Black Marking | Nanostructure formation on surface | Very shallow | Excellent | Very good | Surgical instruments, medical tools |
Key Parameters for Laser Marking on Metal
Getting the right mark on metal means dialing in the right parameters. Here are the most important settings:
1. Laser Power
2. Marking Speed
3. Pulse Frequency (kHz)
4. Focus Position
5. Number of Passes
Pro tip from Transon Laser’s technical team: For most metal marking applications, start with these baseline settings and fine-tune from there:
– Stainless steel annealing (dark mark): 30W, 200–500 mm/s, 80–150 kHz, slightly defocused
– Stainless steel engraving: 30–50W, 100–300 mm/s, 20–50 kHz, focused
– Anodized aluminum ablation: 20–30W, 1000–3000 mm/s, 50–100 kHz, focused
– Aluminum white marking: 30–50W, 500–1500 mm/s, 100–200 kHz, focused
Industrial Applications of Metal Laser Marking
Laser marking on metal is used across virtually every industry. Here are the most important applications:
1. Automotive
2. Medical and Surgical
3. Aerospace and Defense
4. Electronics and Semiconductor
5. Tool and Die Manufacturing
6. Jewelry and Luxury Goods
7. Food and Beverage
8. Plumbing and HVAC
Advantages of Laser Marking on Metal
Permanent and Durable
Laser marks are permanent — they won’t wear off, fade, or be removed by chemicals, heat, or abrasion. Engraved marks are especially durable, withstanding even heavy industrial use.
High Precision and Detail
Fiber lasers can produce marks with resolution down to 10–20μm — fine enough for tiny serial numbers, micro-QR codes, and intricate logos. This level of precision is impossible with most traditional marking methods.
Non-Contact Process
The laser never touches the part, so there’s no tool wear, no force applied, and no risk of damaging delicate parts. This is especially important for thin materials, small components, and finished products.
No Consumables
Unlike chemical etching, stamping, or inkjet printing, laser marking requires no consumables — no inks, no chemicals, no stencils, no dies. The only thing that wears out over time is the laser source itself, which typically lasts 50,000–100,000+ hours.
Fast and Efficient
Modern fiber laser markers can mark hundreds or even thousands of parts per hour. They’re easily integrated into production lines and can be automated with rotary attachments, conveyor systems, and robotic loading.
Versatile
One machine can mark many different metals and produce many different types of marks (annealing, engraving, etching, ablation). It can also mark plastics, ceramics, and other materials with the right settings.
Environmentally Friendly
No chemicals, no waste, no hazardous materials. Laser marking is clean and doesn’t produce toxic byproducts (though fume extraction is recommended for certain materials).
Choosing the Right Laser Marking Machine for Metal
With so many options on the market, how do you choose the right machine? Here’s what to consider:
1. What Materials Will You Mark?
2. What Type of Marks Do You Need?
3. Production Volume
4. Part Size and Shape
Why Transon Laser for Metal Marking?
Transon Laser’s TSF series fiber laser marking machines are trusted by manufacturers, job shops, and product designers worldwide for metal marking. Here’s why:
- Proven laser sources: Raycus, Maxphotonics, and JPT fiber lasers — industry-leading reliability and pulse quality
- Multiple power options: 20W, 30W, 50W, 60W, 80W, and 100W models available
- MOPA options: MOPA fiber lasers available for color marking and advanced applications
- Multiple configurations: Desktop, standalone, and integrated models to fit any workspace
- Rotary attachments: Rotary axis options for marking cylindrical and round parts
- English-speaking support: 24/7 technical support from engineers who speak English
- Competitive pricing: Industrial quality at prices that deliver fast ROI
- Fast global shipping: 7–15 days for standard models to most countries
Whether you’re marking surgical instruments, automotive parts, jewelry, or electronics enclosures, a fiber laser marking machine from Transon Laser delivers the speed, quality, and reliability you need.
Tips for Best Results on Metal
1. Clean the Surface First
Oils, grease, fingerprints, and surface contaminants can affect mark quality. Clean parts with isopropyl alcohol before marking for the most consistent results.
2. Test on Scrap First
Always test your parameters on a scrap piece of the same material before running production parts. Small variations in alloy, surface finish, or coating can significantly affect the mark.
3. Use the Right Lens for the Job
4. Optimize for Readability (Barcodes / QR Codes)
For 2D codes and barcodes, use moderate power and speed settings that produce clean, uniform marks. Avoid settings that produce too much melt or spatter, which can reduce readability.
5. Consider Post-Processing
In some cases, post-processing can improve mark quality:
6. Maintain Your Machine
Final Thoughts
Laser marking has revolutionized metal identification and branding. What was once done with slow, messy, or expensive methods — chemical etching, stamping, inkjet printing — can now be done faster, cleaner, and with better quality using a fiber laser.
The key to success is matching the right machine and parameters to your specific materials and marking requirements. Whether you need high-contrast annealing marks on medical stainless steel, deep engraving on tool steel, or crisp ablation marks on anodized aluminum, there’s a fiber laser solution that delivers.
And as fiber laser technology continues to improve and prices keep coming down, the question for most metalworking shops isn’t whether to invest in laser marking — it’s which machine to buy.
Further Reading:
The same marking principles that make UDI traceability possible in medical device manufacturing are covered in our laser technology in medical device manufacturing, which walks through how laser marking is applied across regulated industries.
The traceability capabilities of laser marking are even more critical in aerospace manufacturing, where every component must be tracked throughout its service life, as explained in our laser technology in aerospace manufacturing.